The light parade
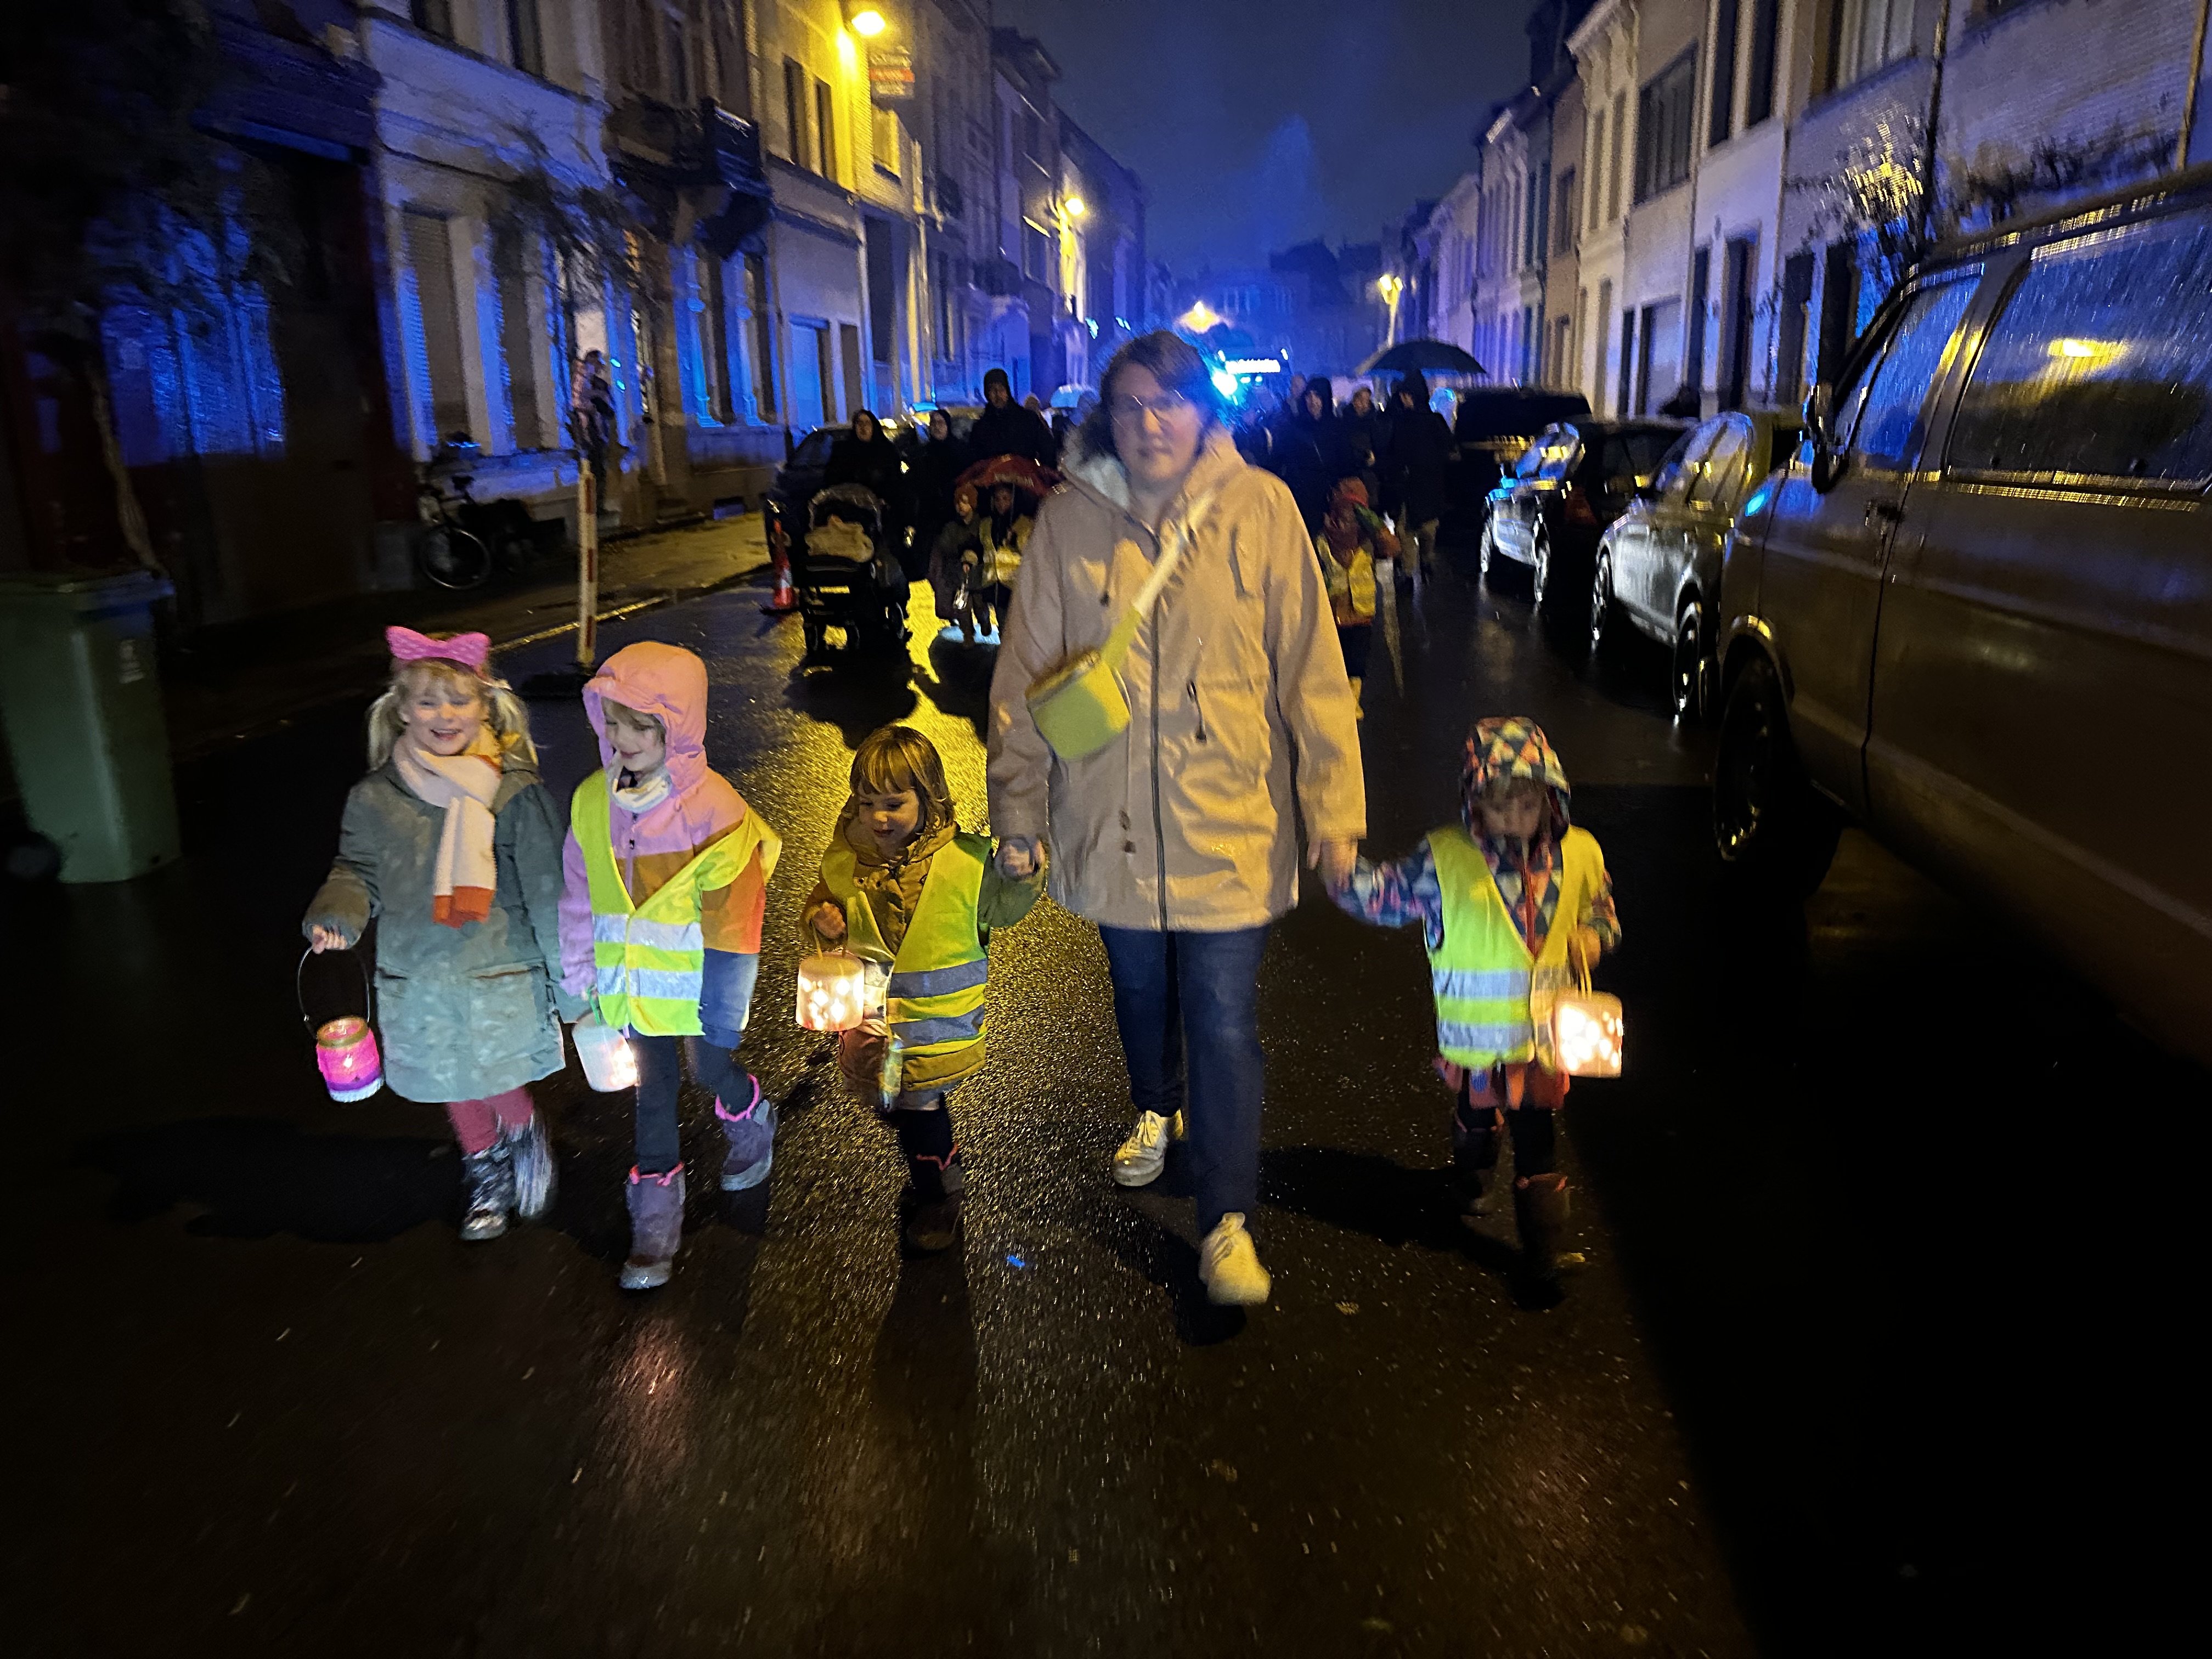
Before COVID hit the world, the school of our kids organized a parade each year. All the kids carry small candles and walk across the neighborhood, accompanied by a big fanfare.
Because small candles are kind of boring, I decided I was going to go big the next edition, and make super cool LED lights for my kinds. I made plans and ordered plenty of LED panels. Unfortunately, the editions of 2020 and 2021 were both canceled.
I was afraid there wasn’t going to be a light parade in 2022 as well, because we didn’t receive any info that it was going to take place. Until, just one week beforehand. Which left my with little to no time to create three lamps.
The setup
My original plan for the 2020/2021 light parade was to have ESP32‘s connected to flexible WS8212B LED panels, inside 3D-printed enclosures. One of the ESP32’s would have a microphone sensor and communicate the sound data to the other ESP32’s. They would all run a custom Arduino sketch, which would display sound-controlled effects on the LED’s. I would then be able to control the colors & effects using a custom React Native app. They would receive power by using USB-battery packs.
Sounds way too complicated? It is.
Enter the plan for 2022.
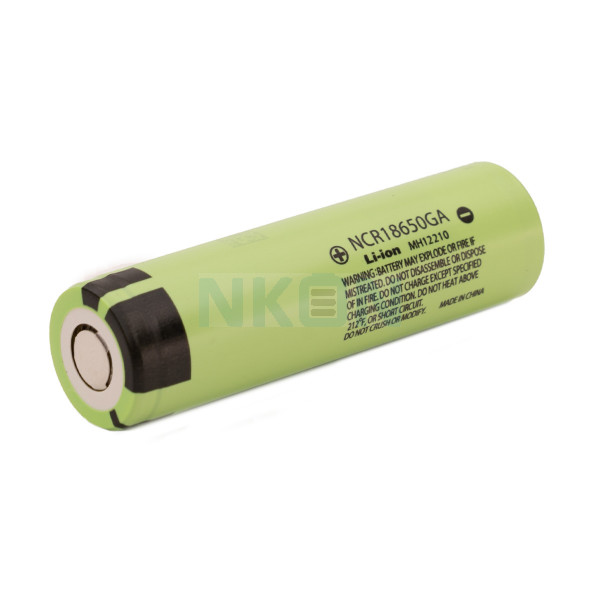
Instead of using a powerbank, I opted for a 18650 battery. This only delivers 3.6 volts, which shouldn’t be enough for driving the WS8212B LED panel, as it needs 5V. I was expecting to have to deep dive into level shifting and other electronics stuff, but to my surprise, the panel works just fine on the 3.3V PIN of the ESP32.
I opted for the LILYGO® TTGO T-Energy ESP32 board because it’s cheap (€12) and it includes a battery holder. The fewer wires, the better.

Instead of writing the firmware and controller myself, I decided to use WLED Reactive, a fork of the excellent WLED project, that includes sound input & reactive effects. Never write things yourself, when you can stand on the shoulders of giants.
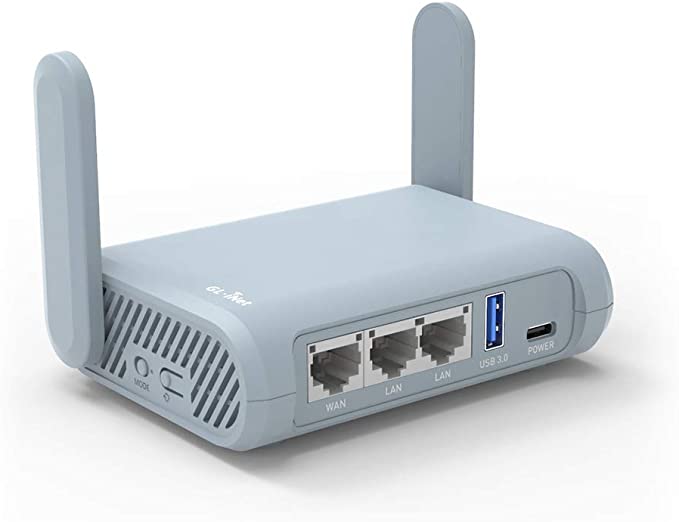
I was planning to do synchronization between the lights over Bluetooth LE. The WLED firmware does support synchronization, but only over IP (UDP). At first, I was considering running one of the nodes as a Wi-Fi access point, but since the range of the ESP32’s antenna probably isn’t that great, I decided to go for a standalone Wi-Fi router.
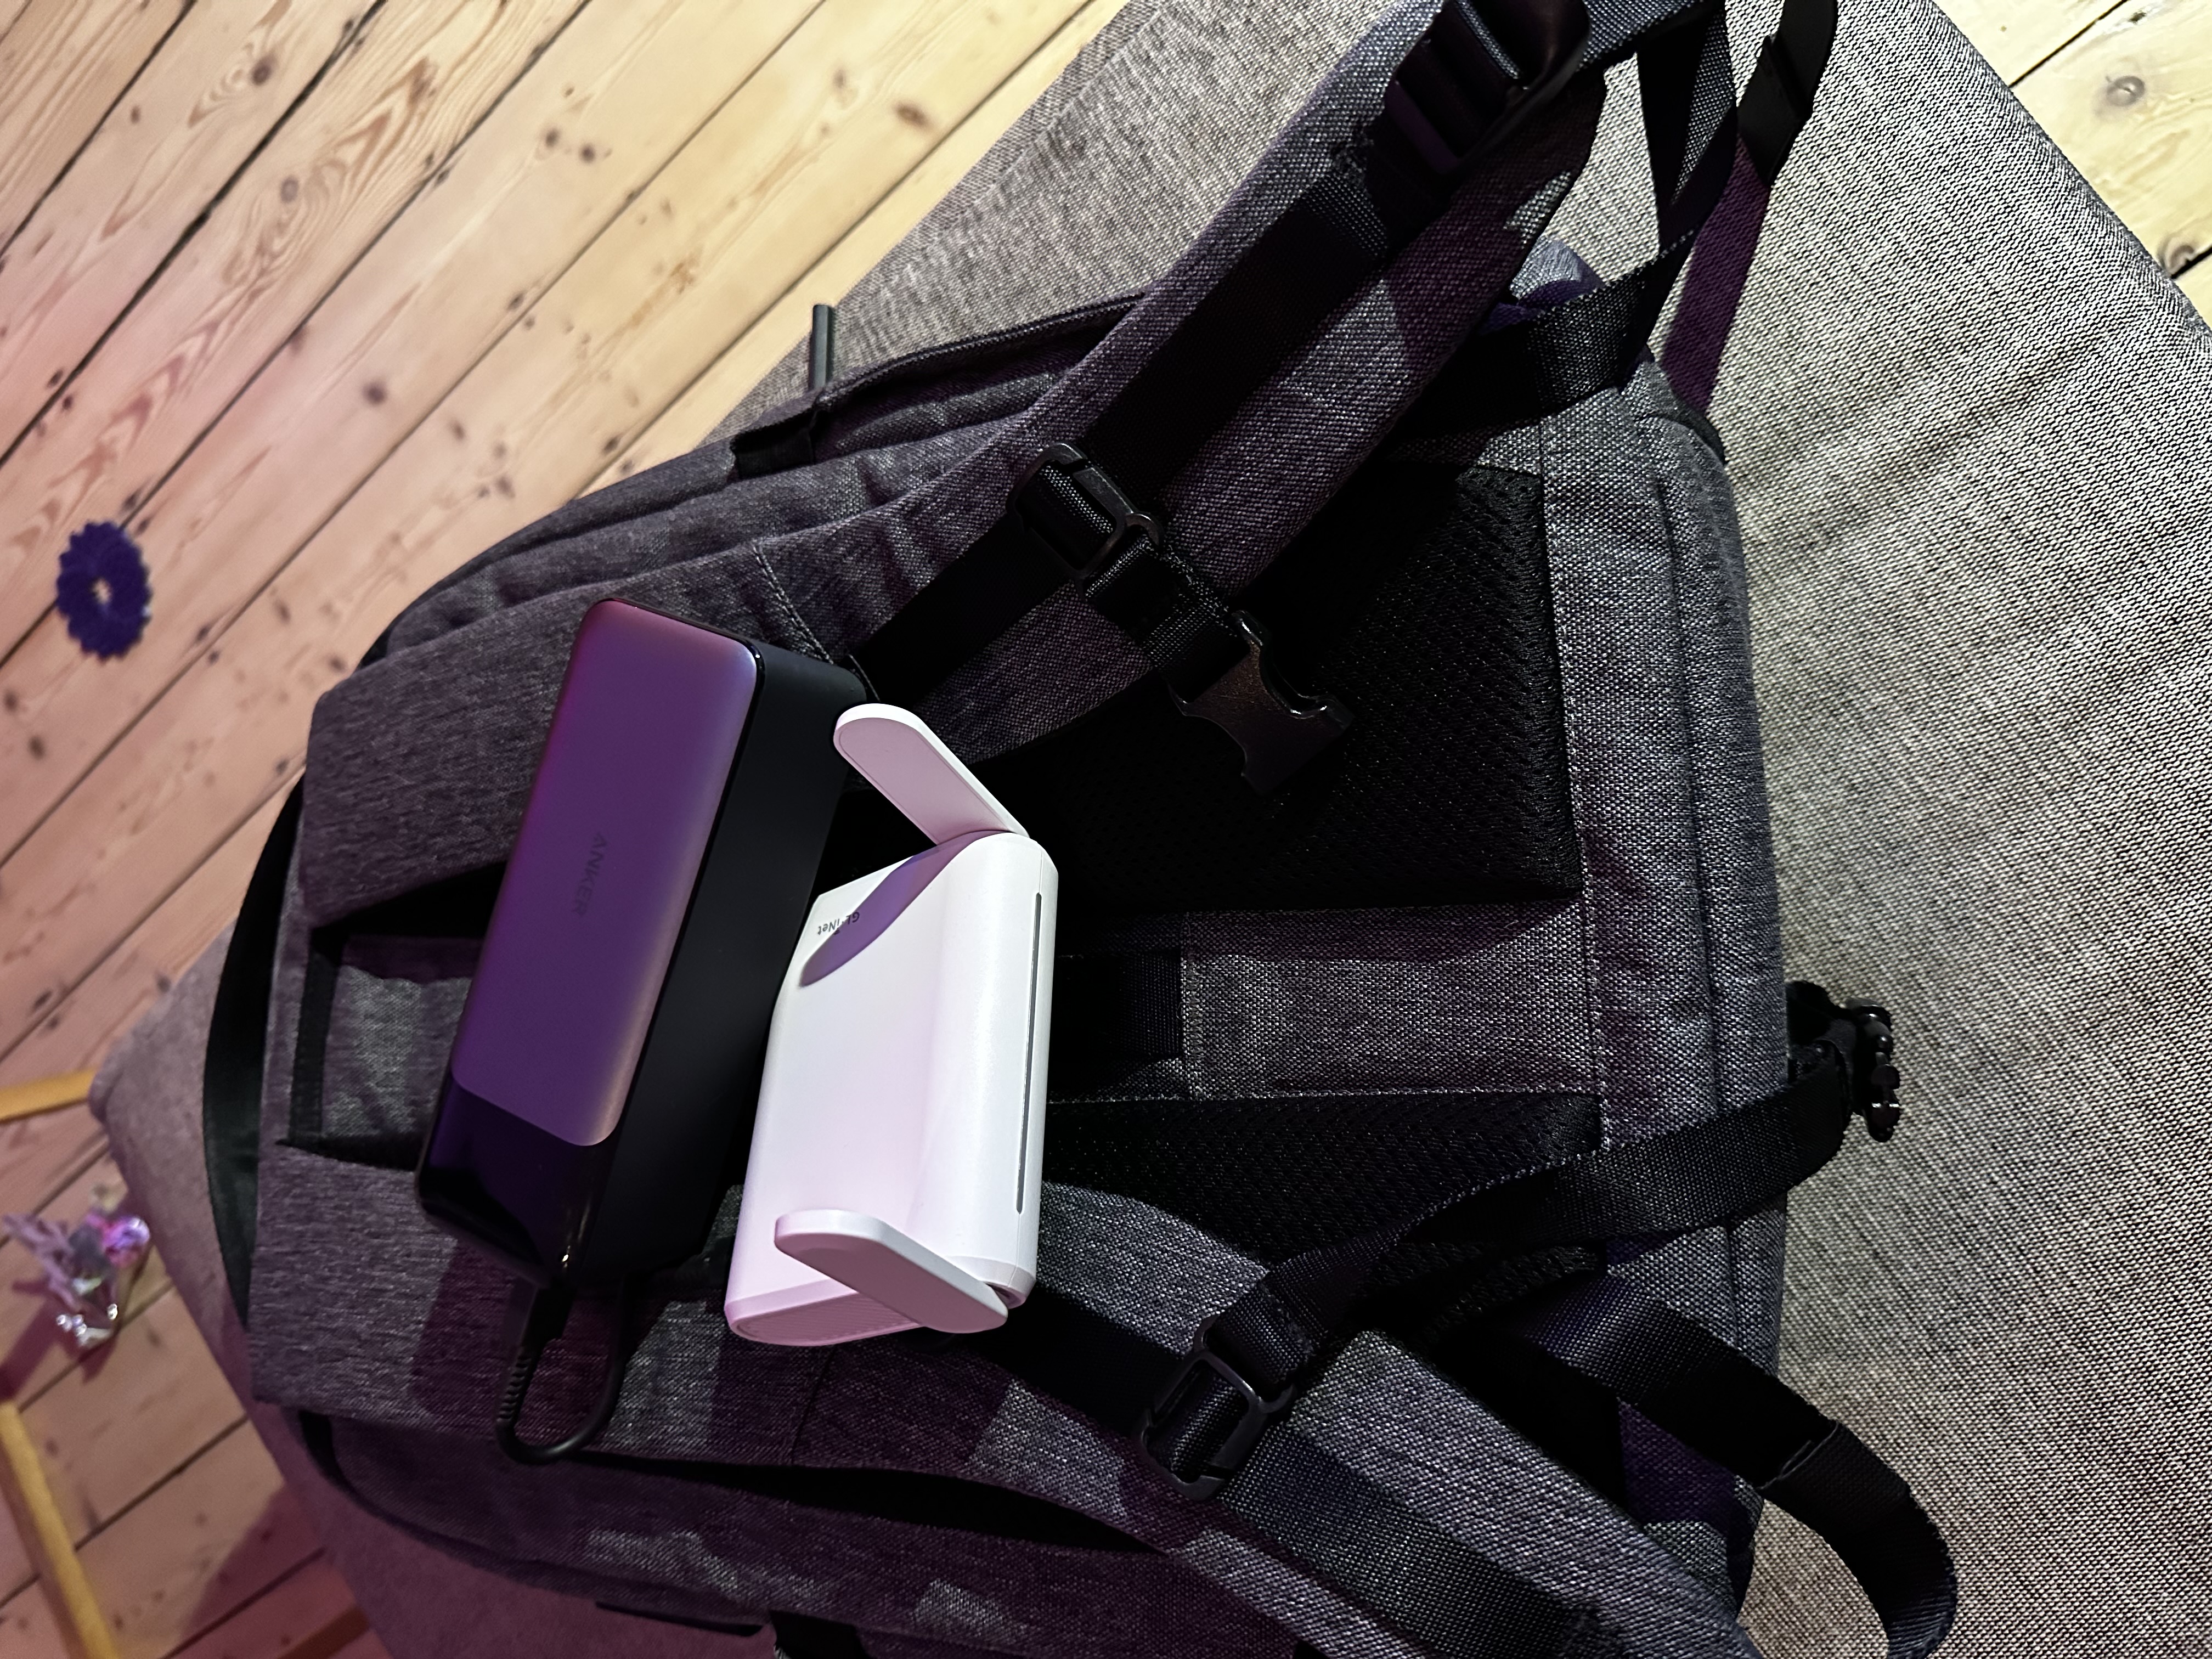
A couple of weeks ago, I learned about an outstanding travel Wi-Fi router from a video by Snazzy Labs. It’s cheap, it runs OpenWrt, and it’s powered via USB-C. I bought one, and powered it with my trusty Anker PowerCore 24K power bank. All lights and my iPhone would connect to the WiFi-network that was being transmitted from my backpack. This allowed one light to be the master controller, and sync the chosen effect & color settings to the other lights.

For the microphone sensors, I used dirt cheap MAX4466 modules. Next year I’m going to use more expensive digital microphone sensors because the MAX4466 picked up a lot of static, and was not reliable at all. They also seem very easy to break. Thankfully, WLED Reactive also allows you to sync sound data over UDP, so I only needed one working MAX4466 to drive three lights.

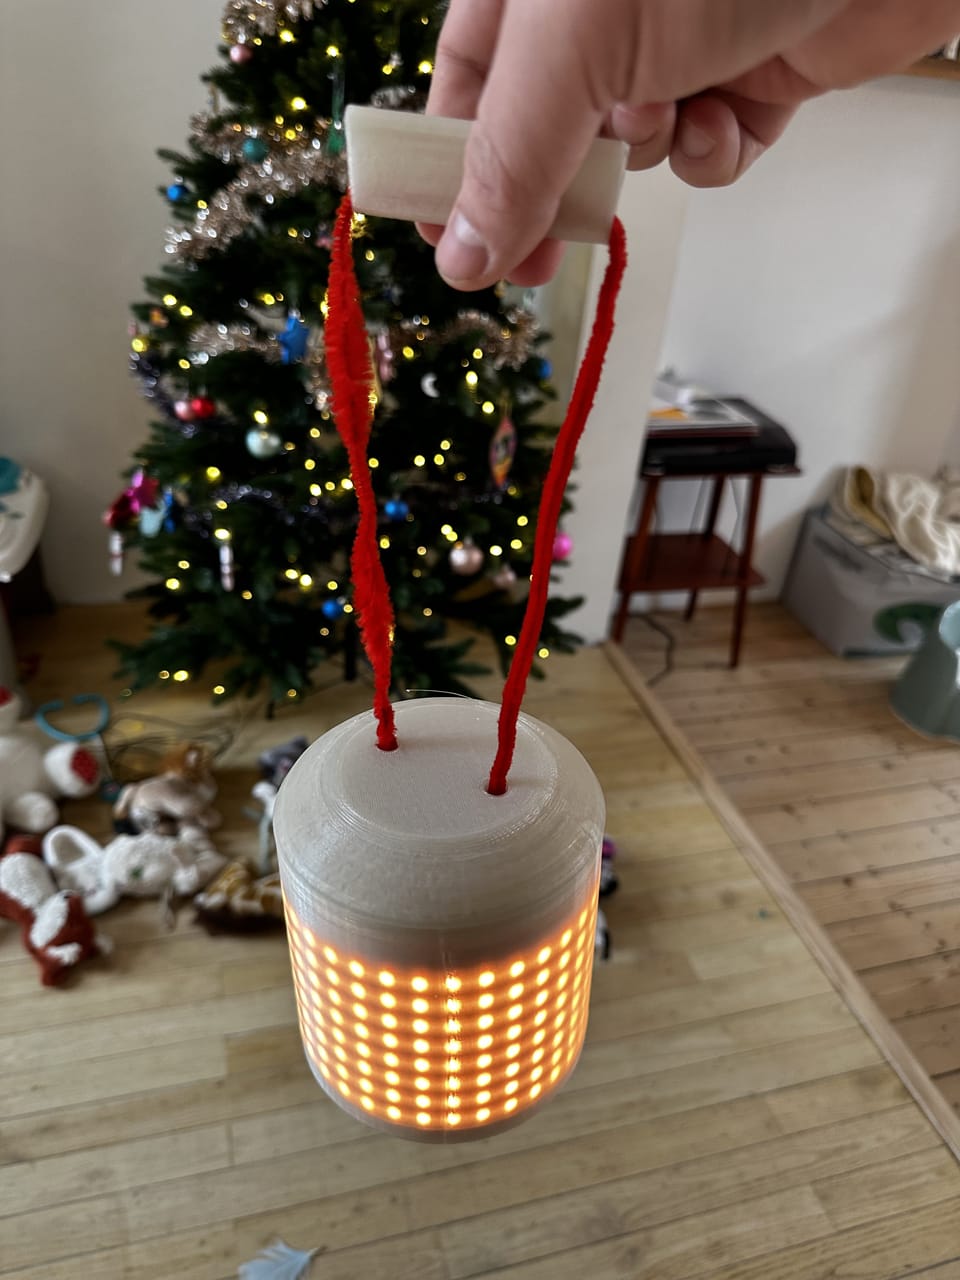
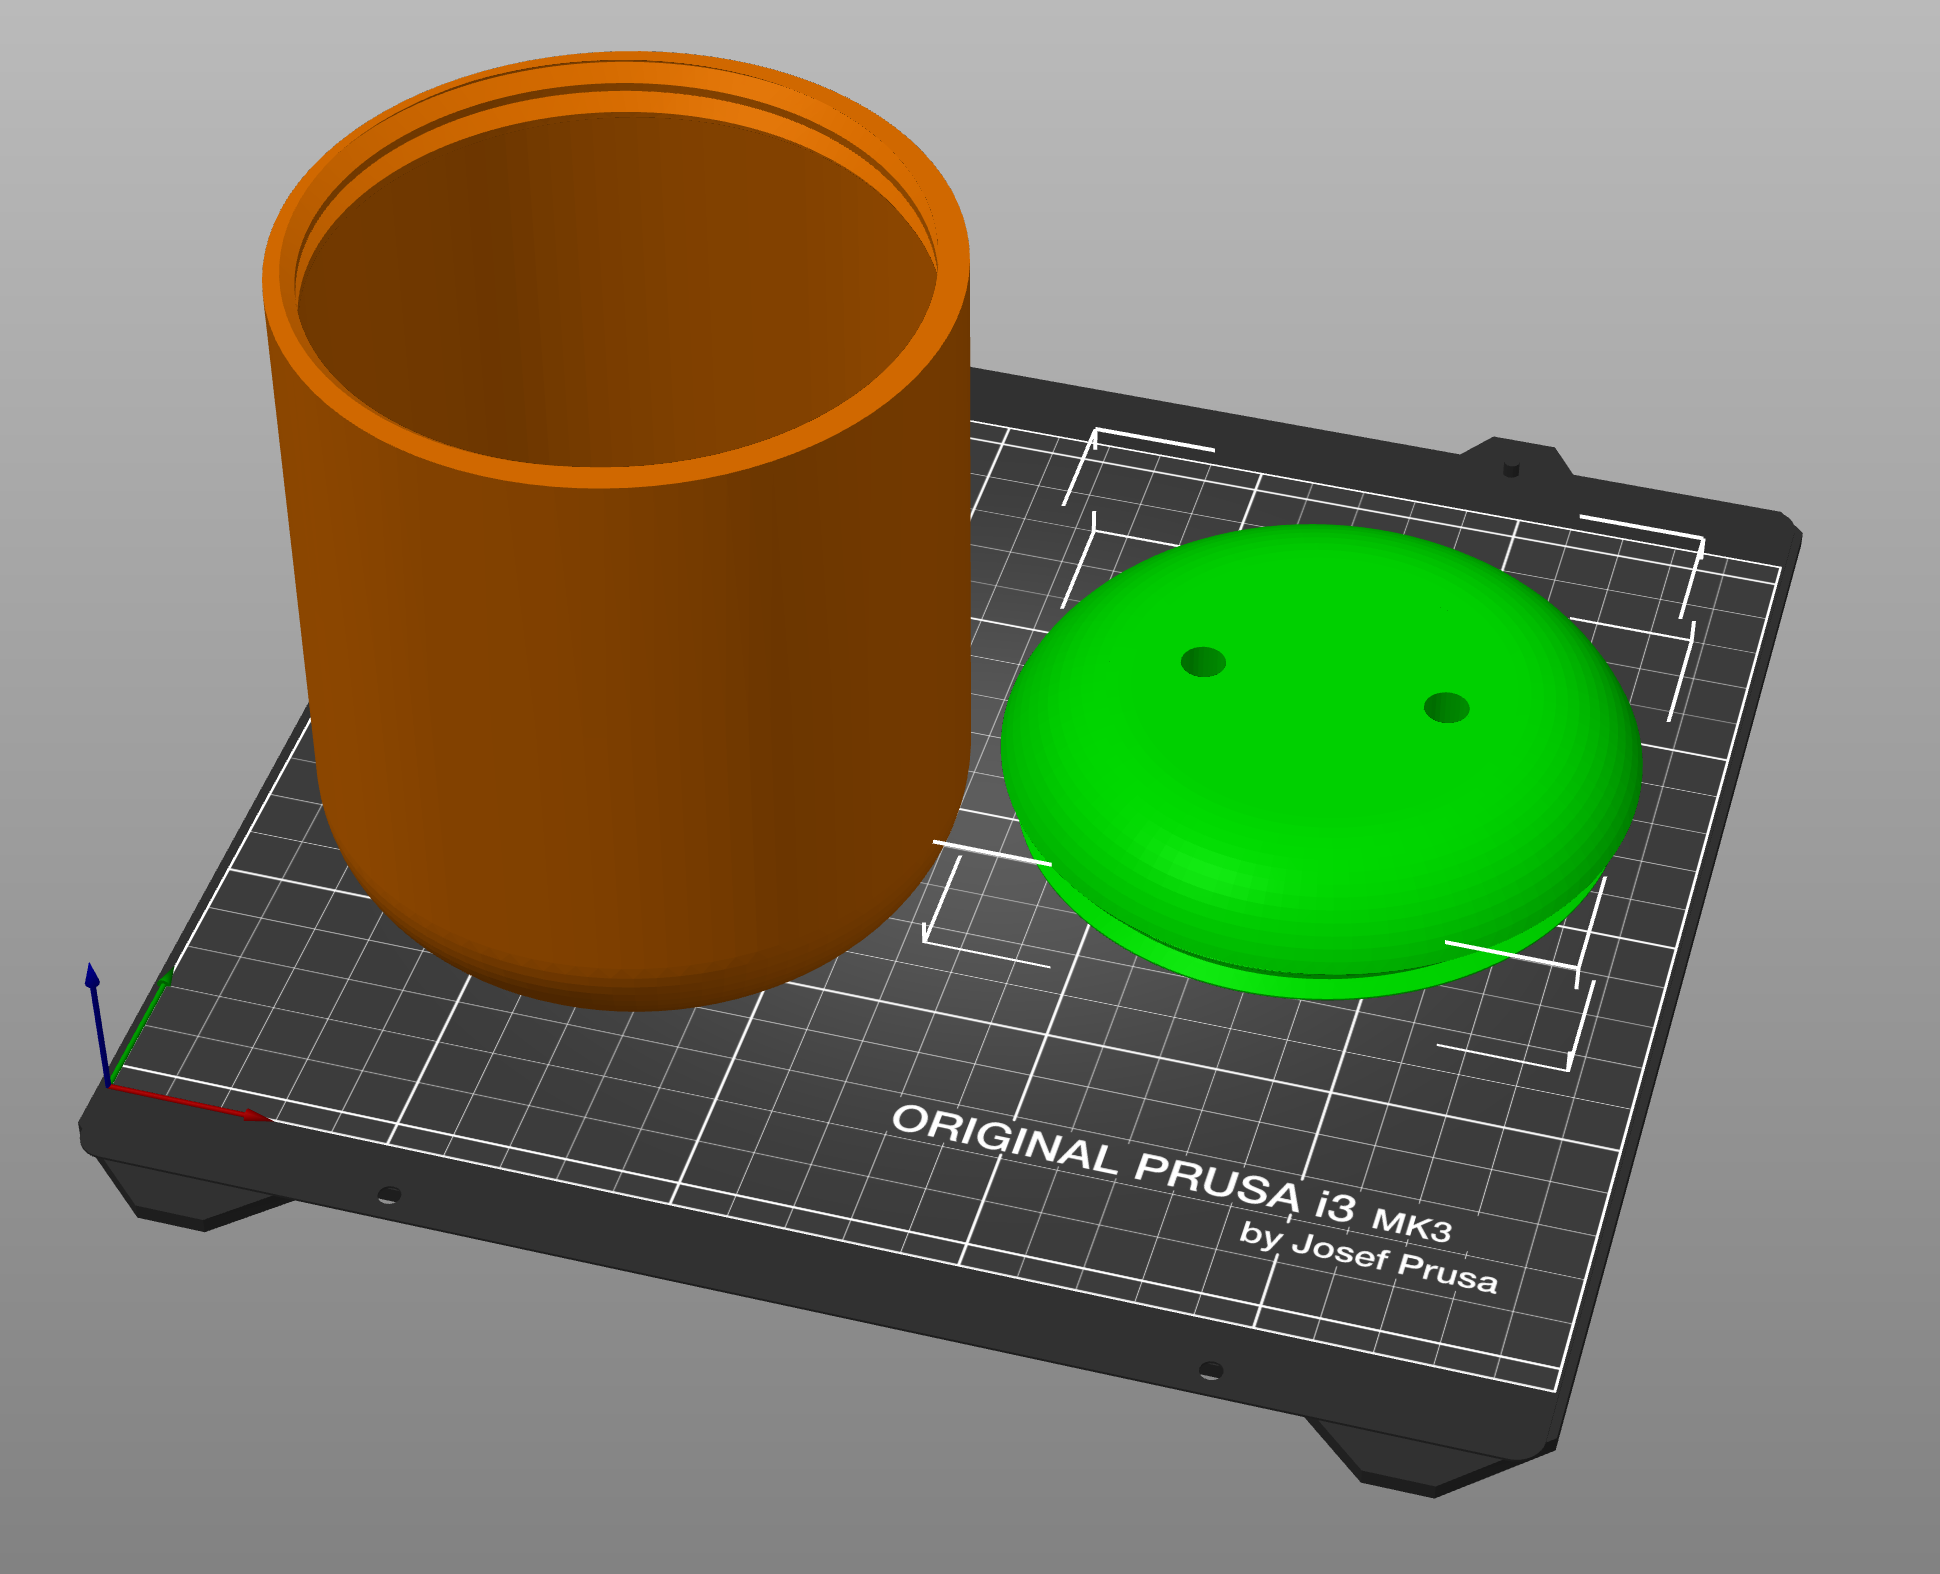
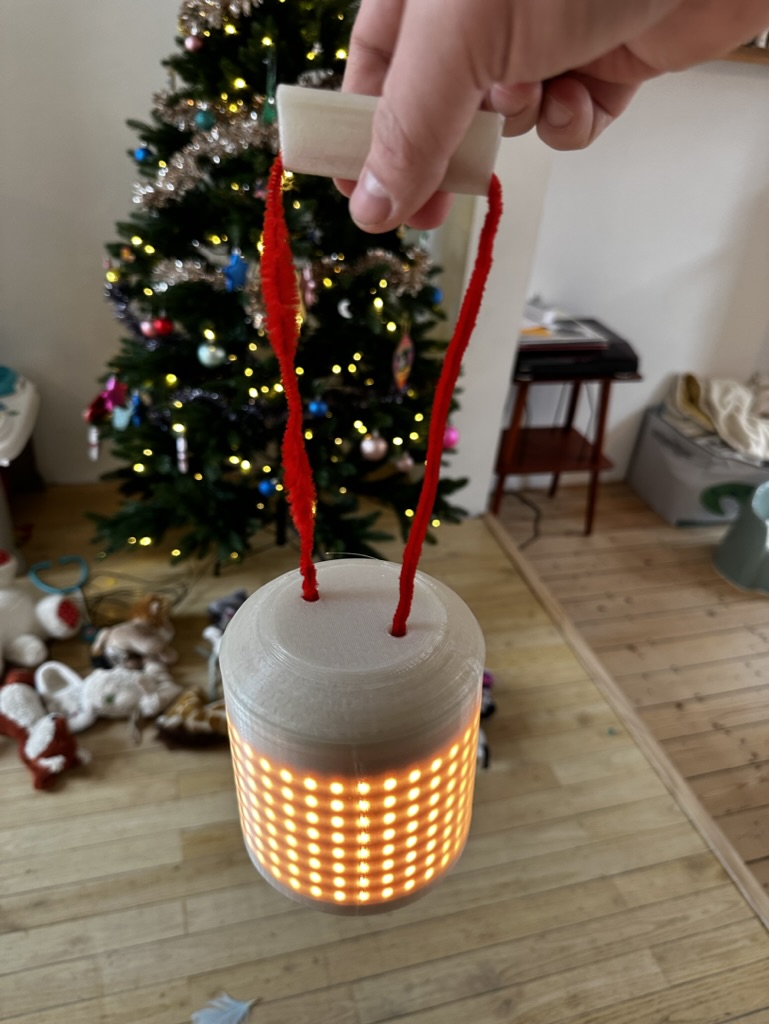
I was able to adapt the design I made for the case last year. Since there didn’t need to be a big power bank inside it, I was capable of making it a bit more compact, reducing print time to 8 hours a piece.
Assembling all three lights, tuning the microphone’s gain, and configuring a playlist of presets took most of the time. I was thrilled when I finally saw three LED panels doing crazy effects in sync.
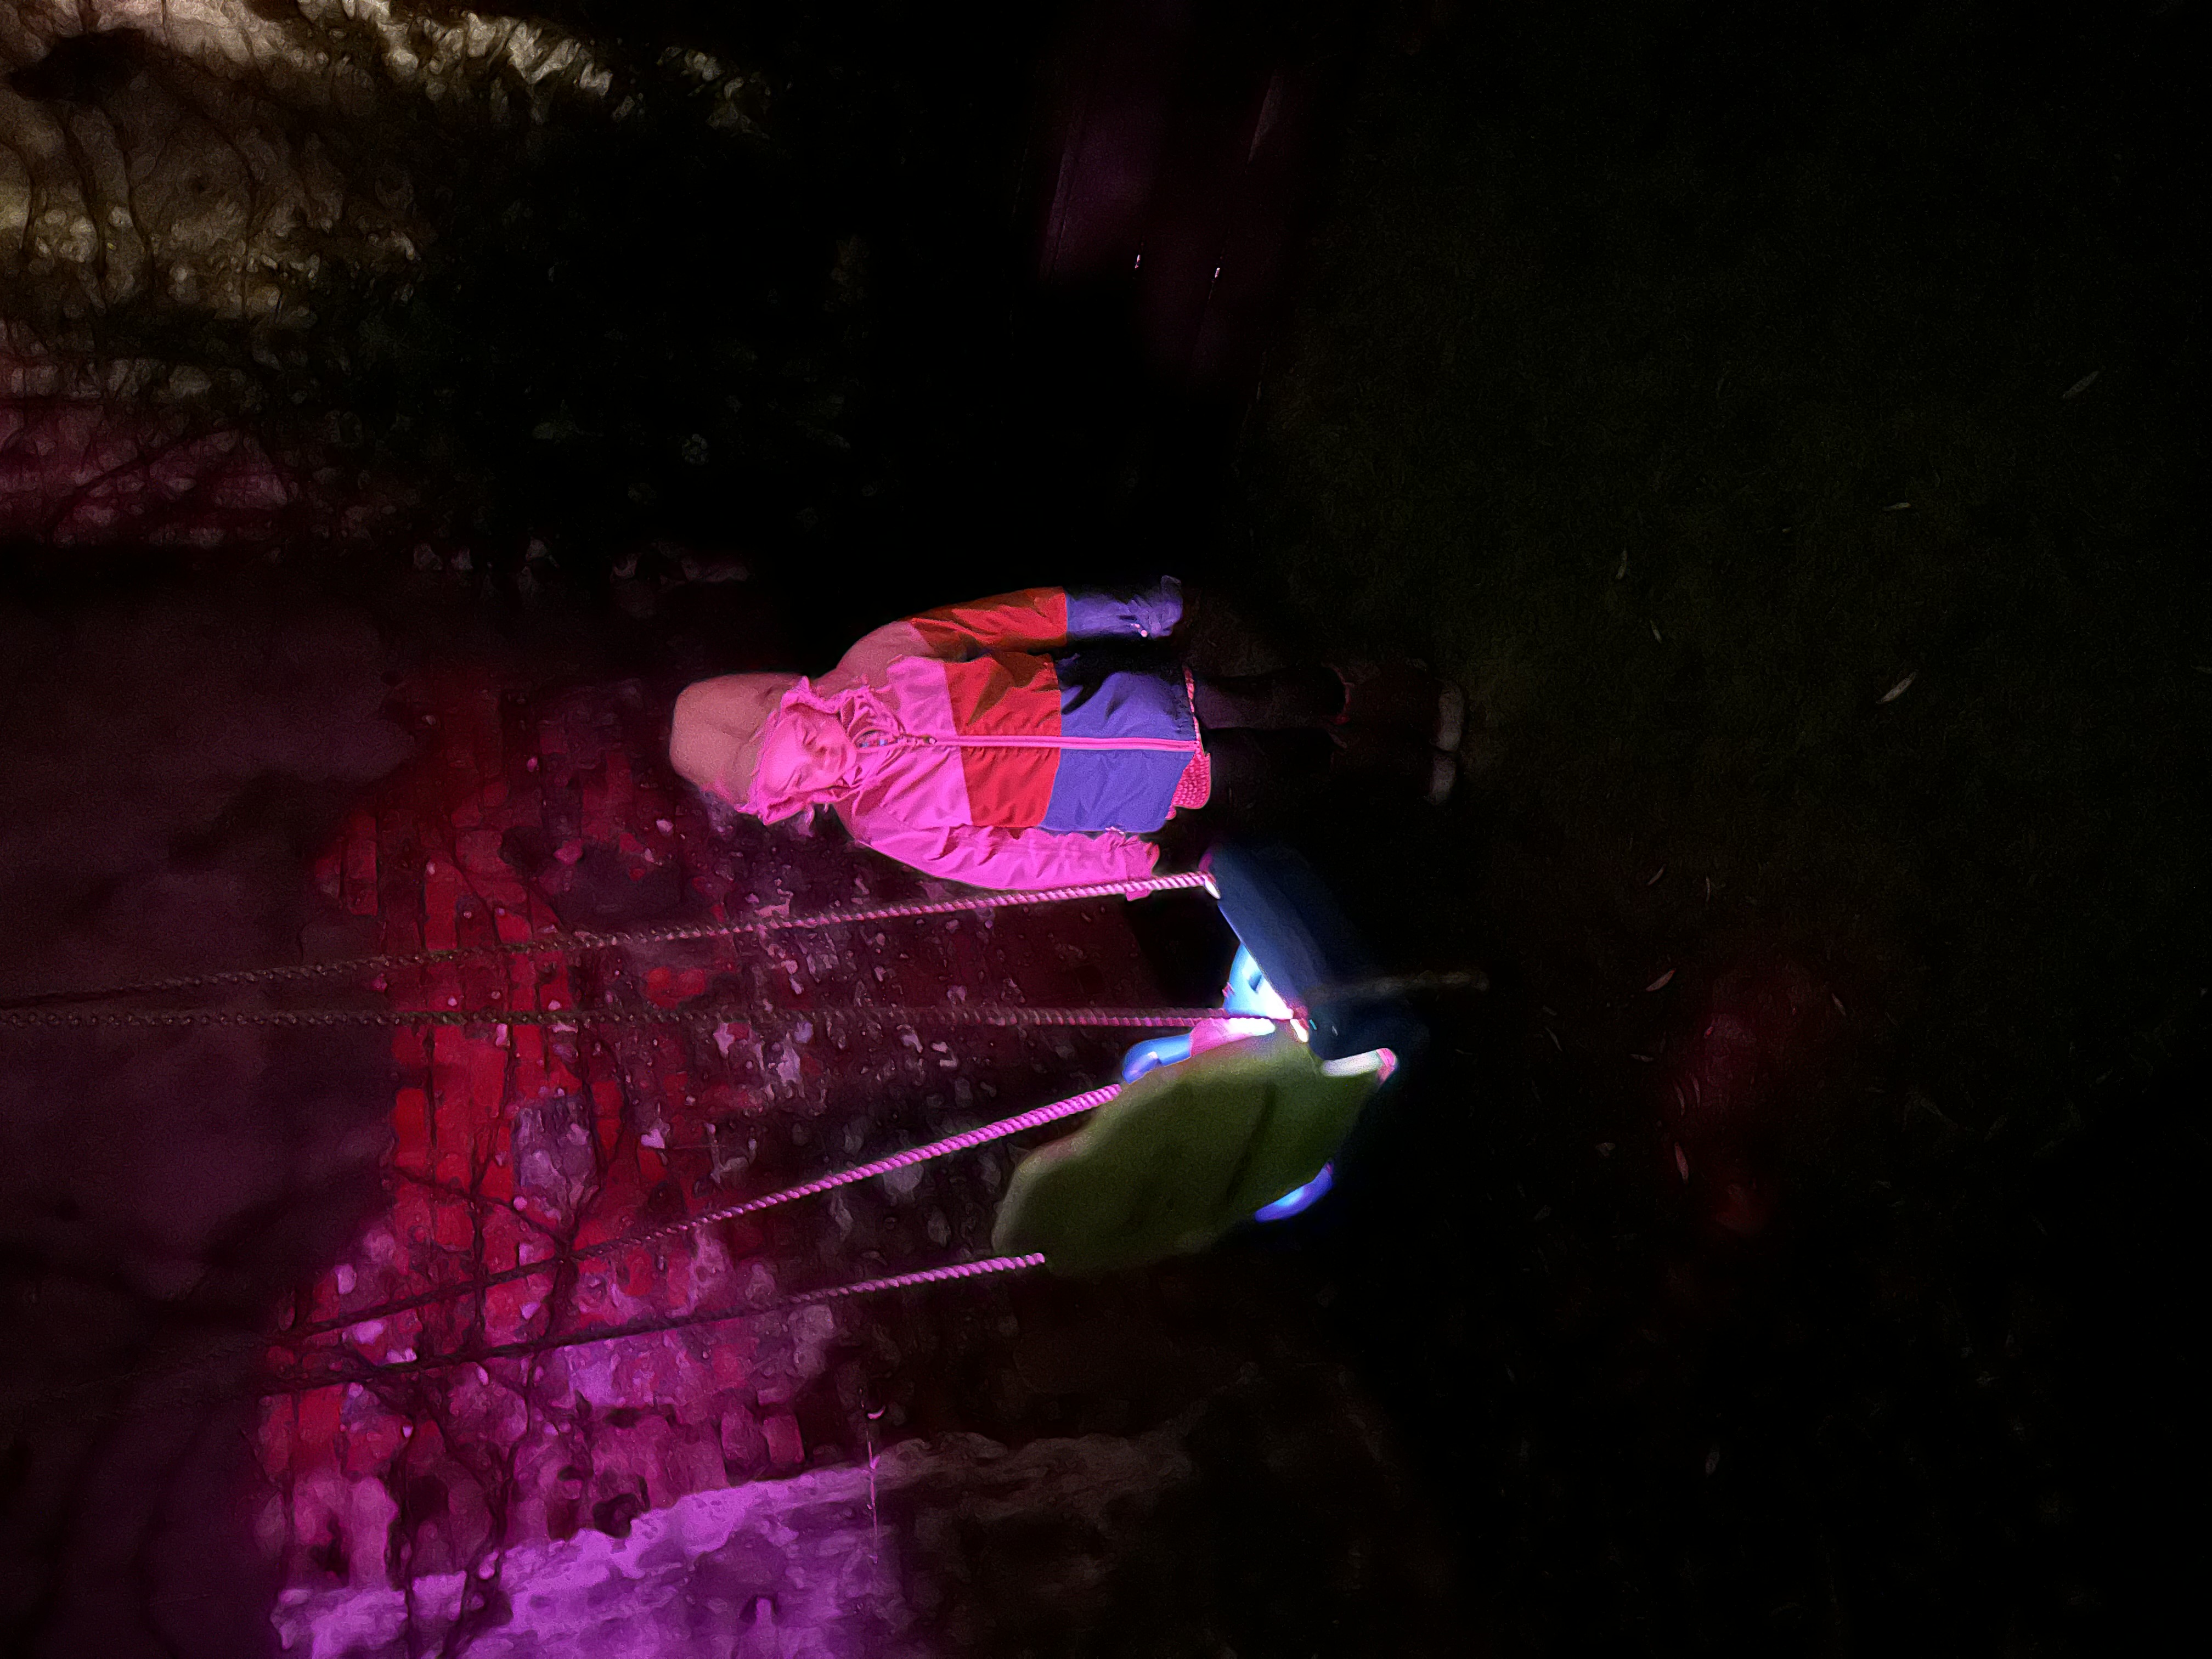
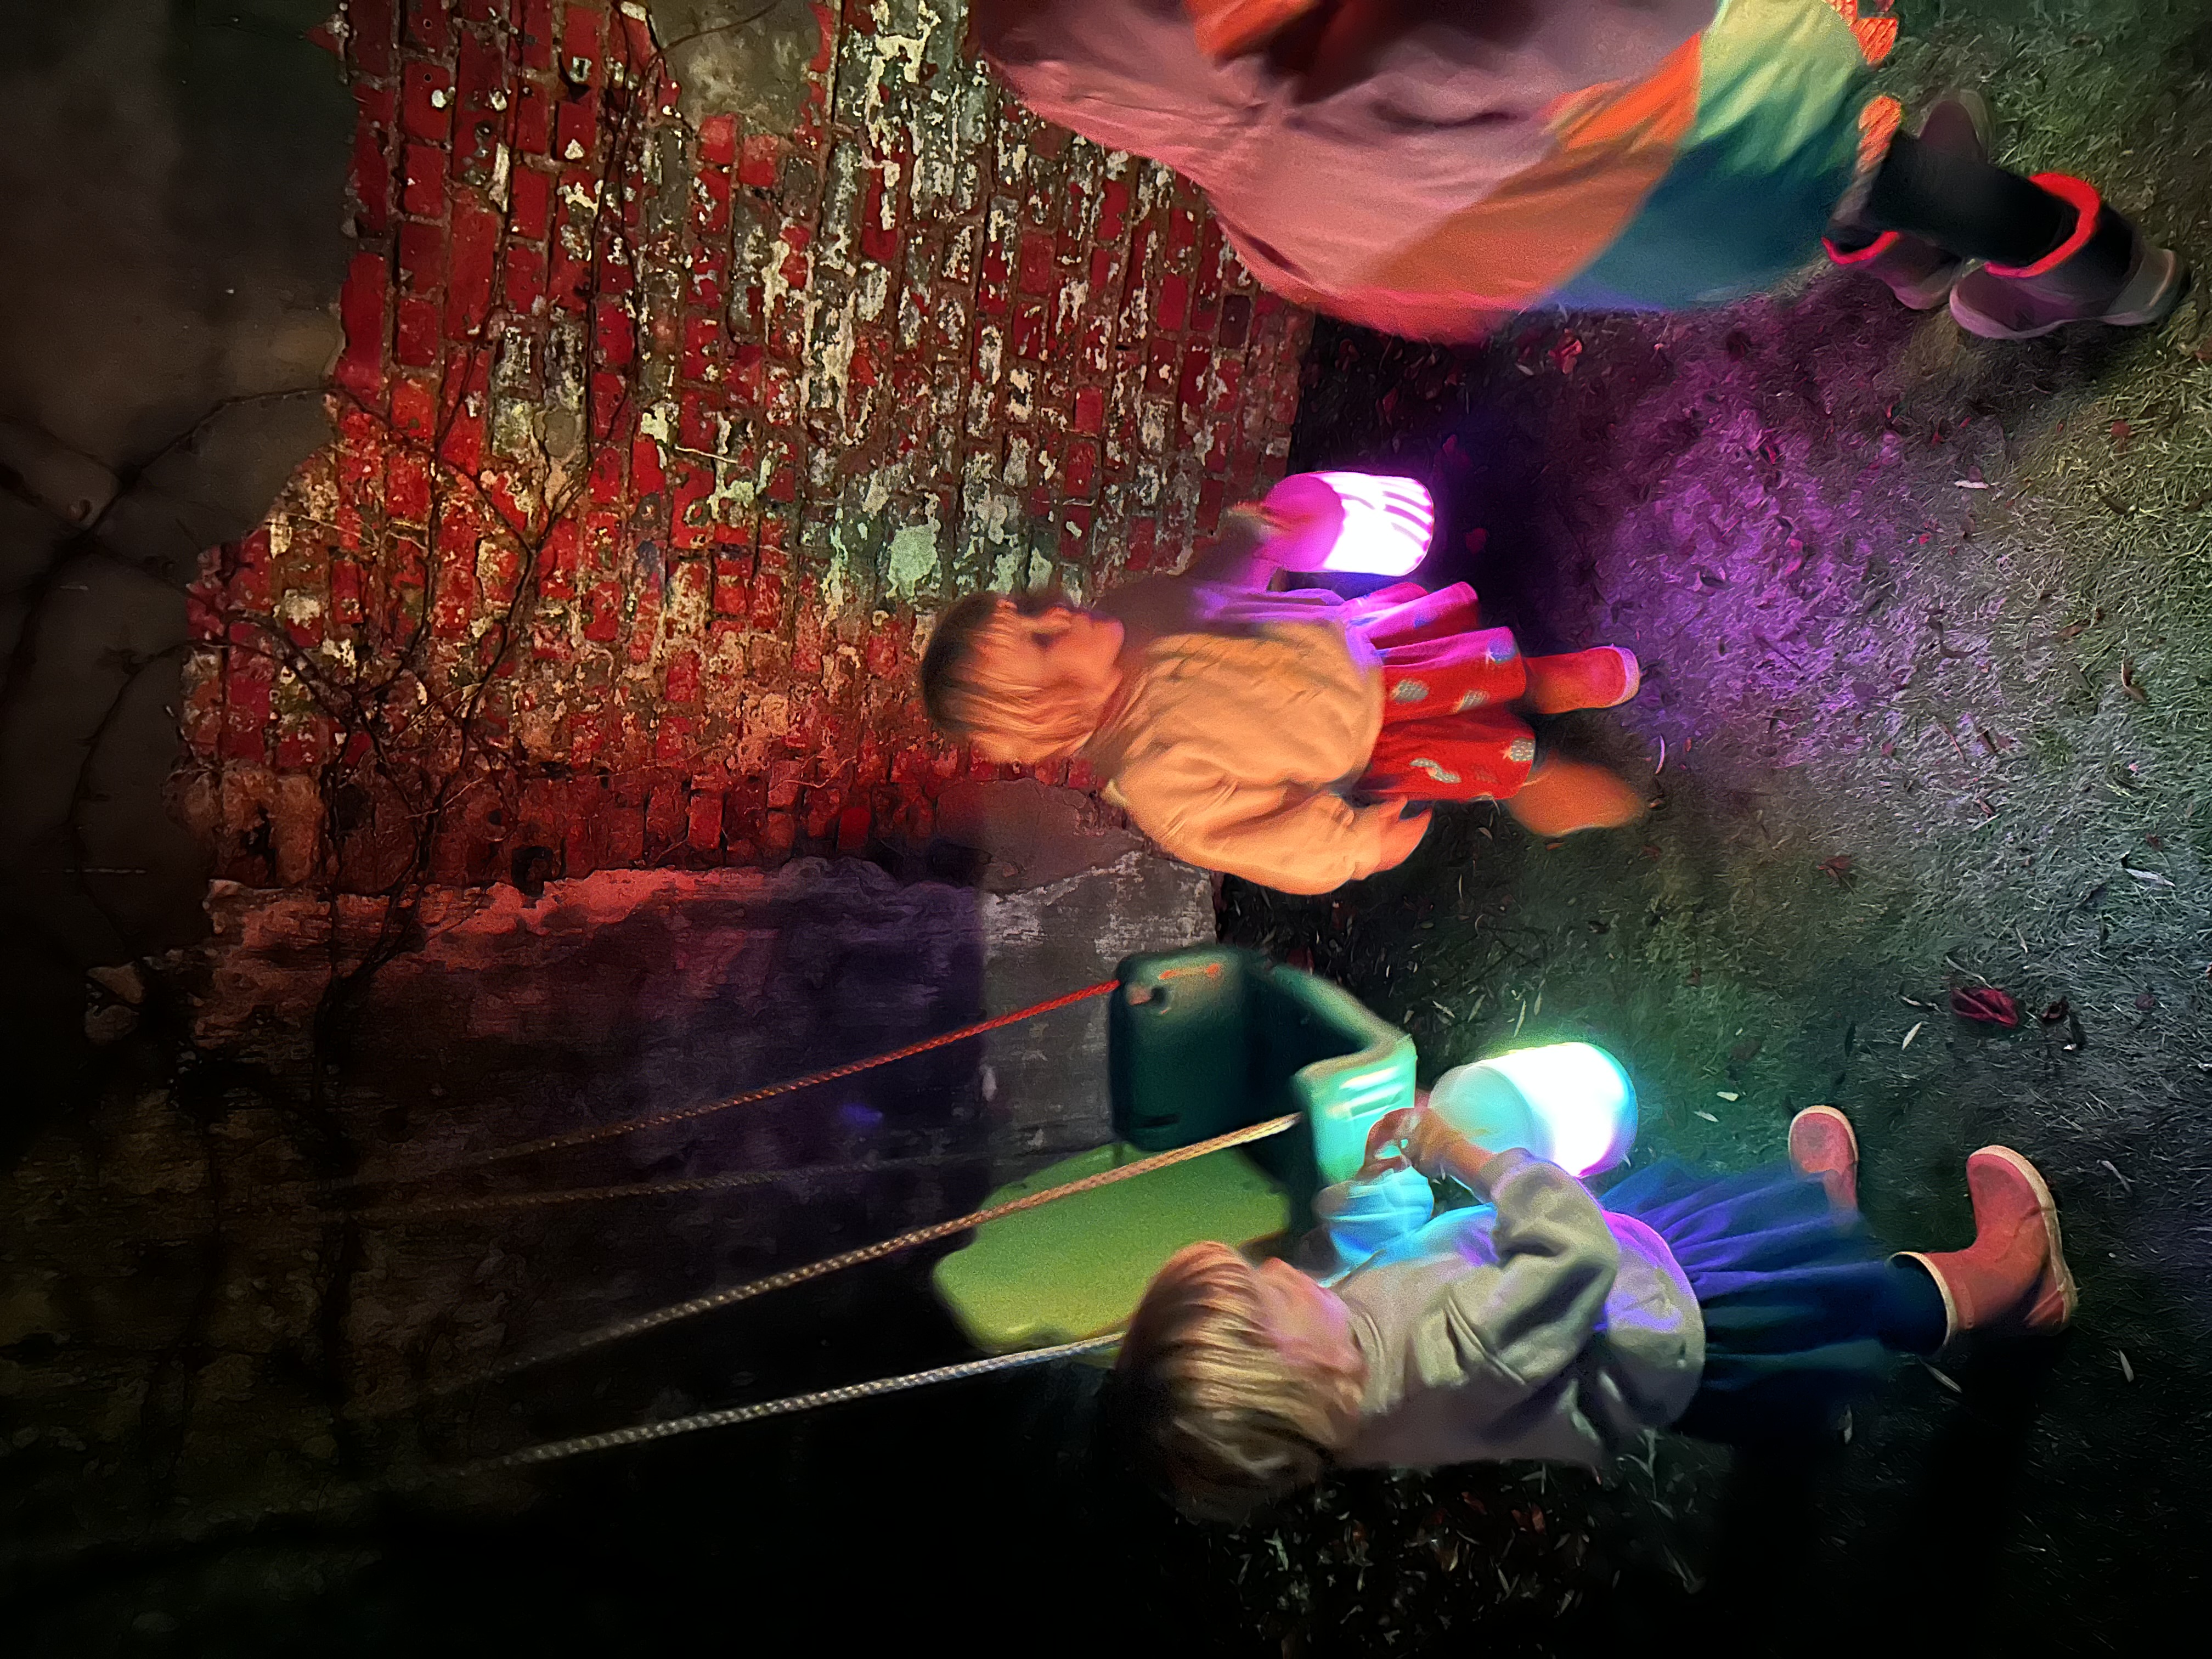
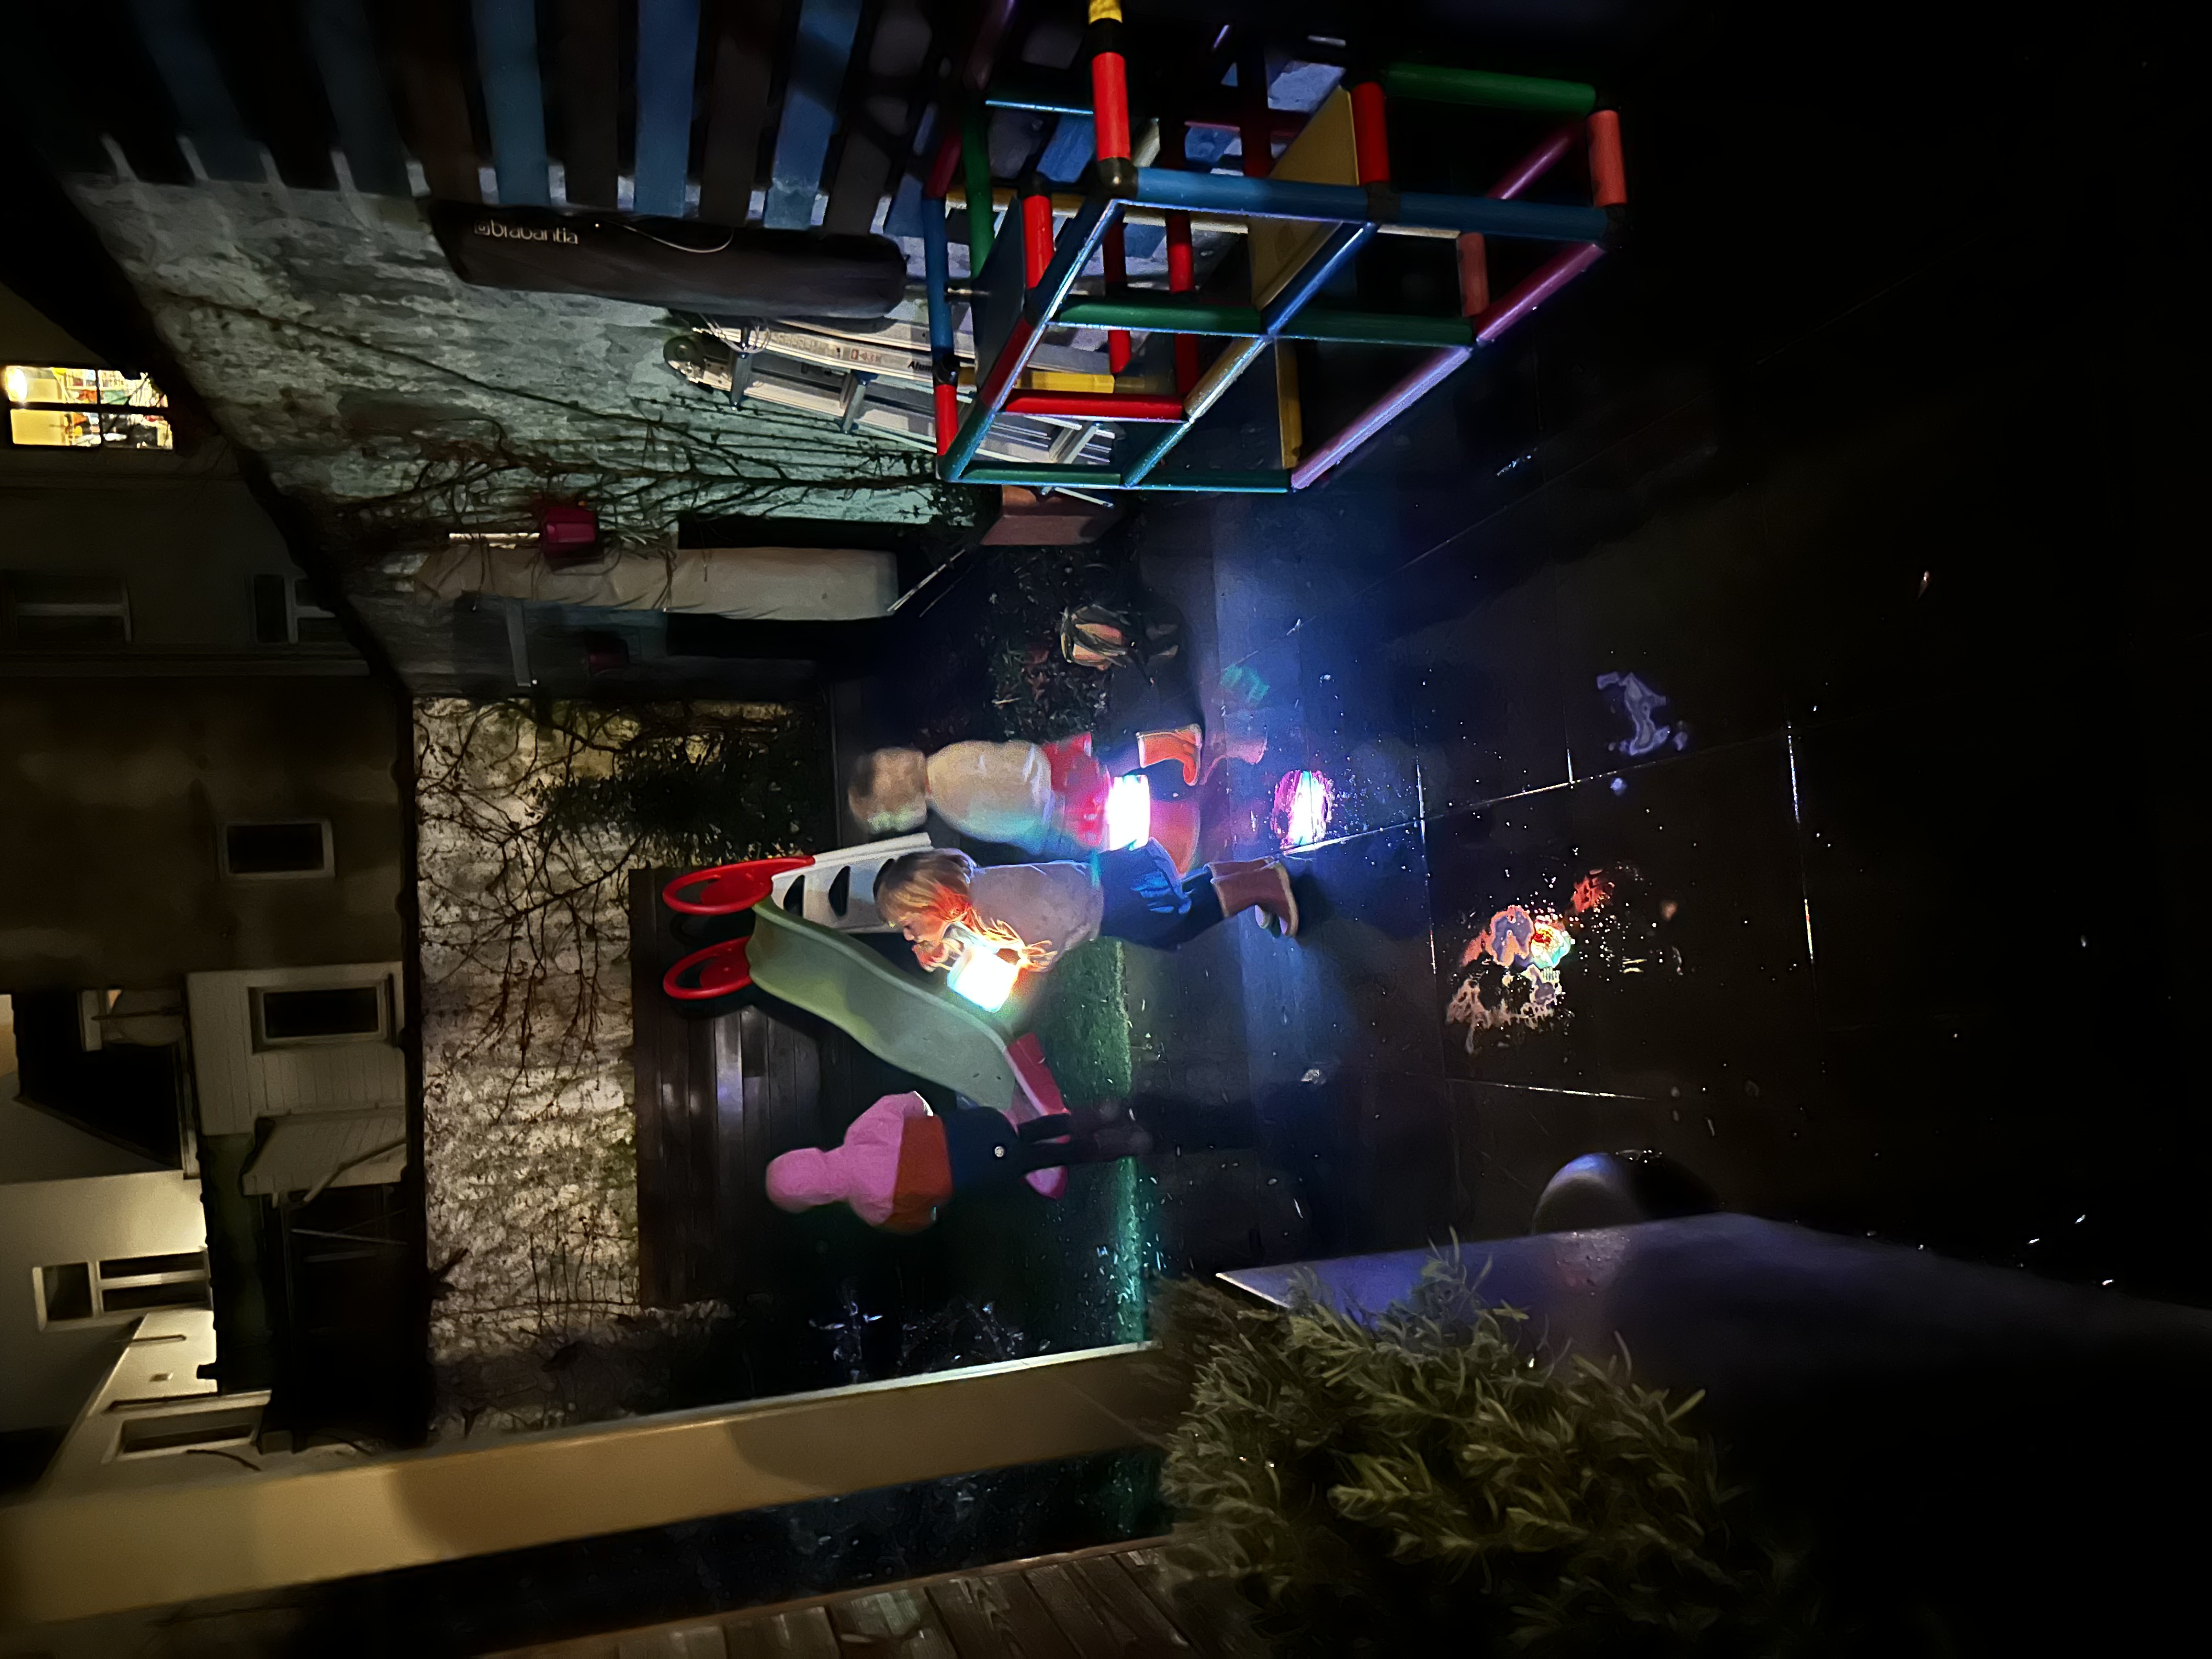
The result
It was a rainy day, but everything worked. The lights, the effects and the sound reactivity. It was an amazing project to be able to work on in my spare time. Of course, I didn’t take enough pictures ????

Member discussion