Fancy in-wall panels using NSPanel, ESPHome and HomeAssistant


/
In the past, I’ve written about turning your house into a smart home using Home Assistant. Since we are currently in the midst of a home renovation, I’ve been doing lots of research on how to make it even smarter.
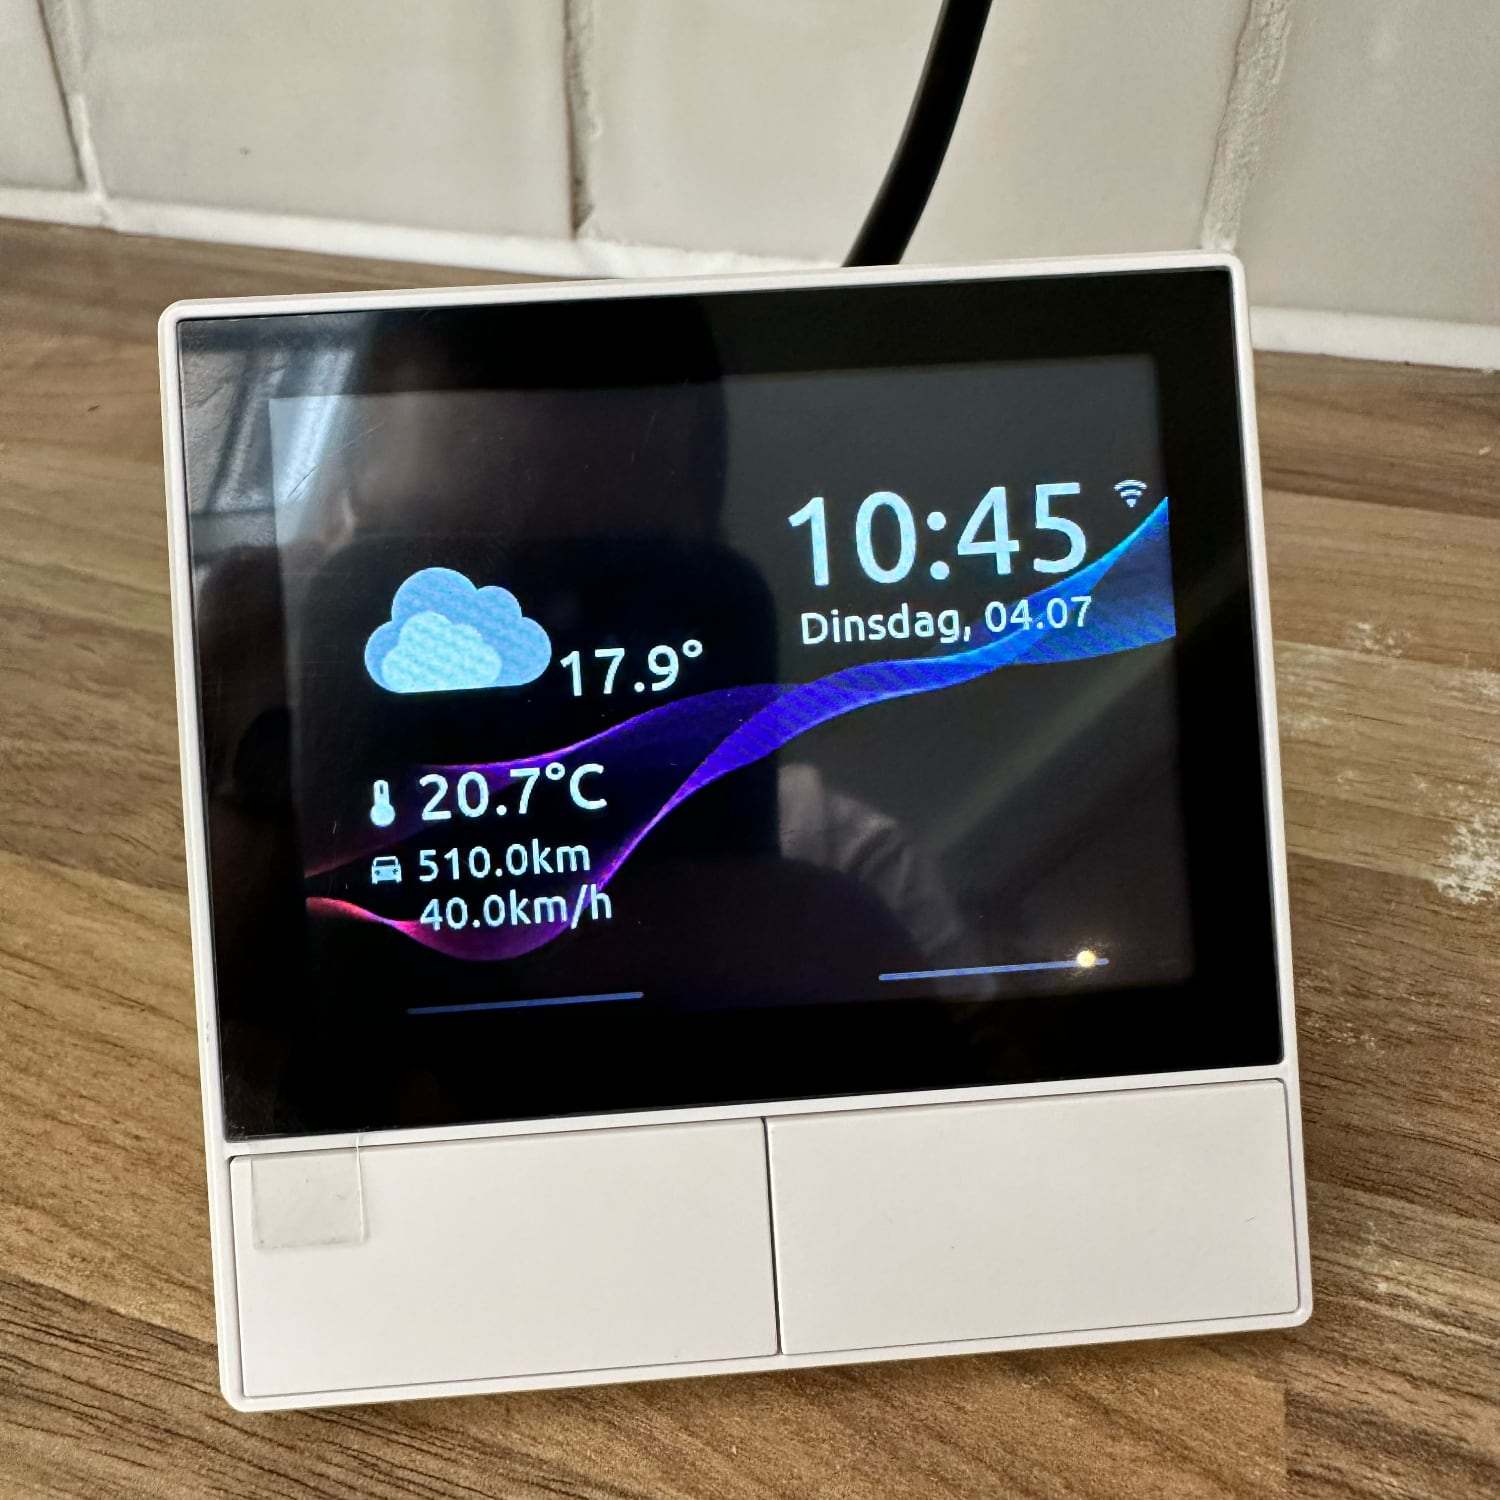
One of the products I came across while digging into this is the NSPanel, a relatively cheap (€50) panel, consisting of a 3.5” 480*320px LCD screen, two buttons (and relays), a temperature sensor and a buzzer.
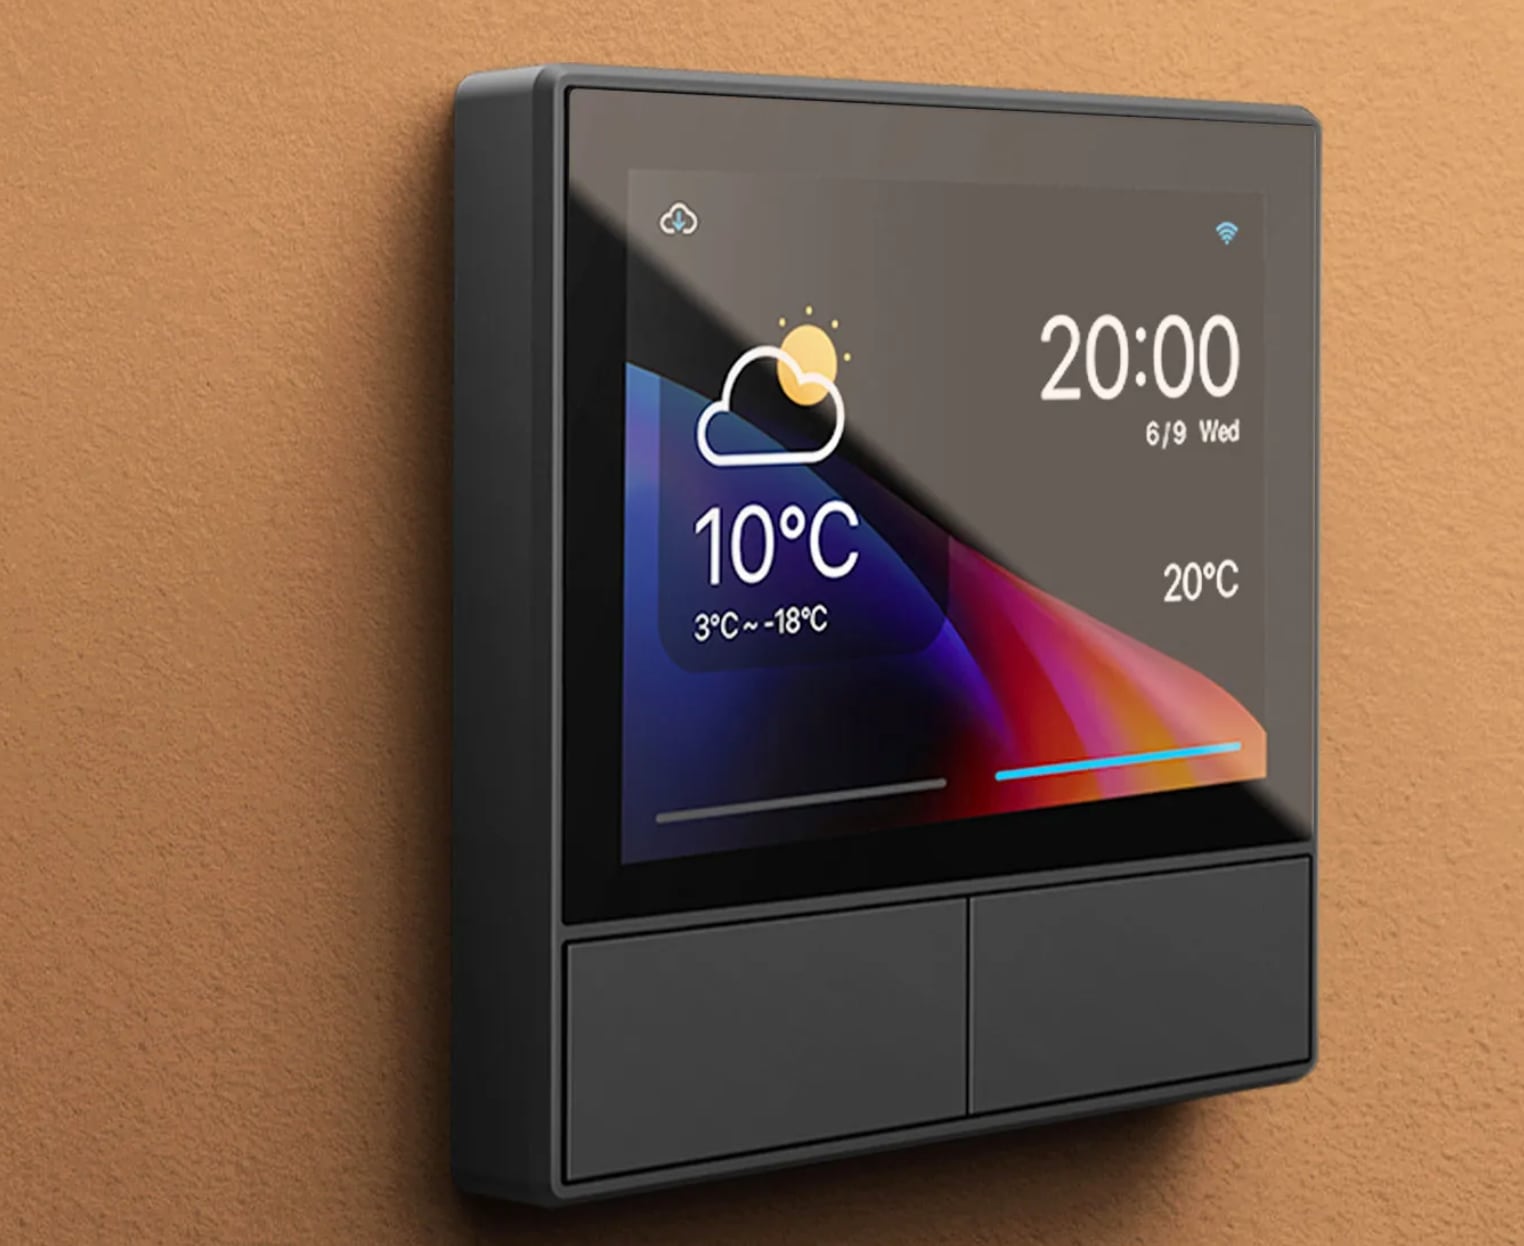
Under the hood, it sports an ESP32 microcontroller and a custom Nextion touchscreen. These Nextion screens are quite fascinating, they contain some storage which you flash with a custom firmware, containing all the UI and interactions needed. By doing so, low powered devices like an ESP32 can display snappy high-resolution user interfaces without breaking a sweat.
By default, it runs its own firmware, which you can control using the eWelink app, which is a no-go for me. I want deep Home Assistant integration, and I don’t want to be dependent on a closed ecosystem that might not be there anymore in a couple of years.
Alternative firmwares
Fortunately, there are cool people around who think the same. There’s plenty of alternative firmware around:
- NSPanel Lovelace UI: based on Tasmota, allows you to configure the UI with a configuration file.
- NSPanelManager: a promising looking project, which is still in early development. Once it’s released it will offer easy configuration of multiple panels through a UI.
- NSPanel_HA_Blueprint: ESPHome based, with easy configuration through a HomeAssistant Blueprint.
I settled on the last one, because it’s the easiest to configure at this moment, and it looks pretty and well maintained.
Installation
Since the NSPanel doesn’t have a USB-port, flashing the custom firmware requires some steps. You’ll need a USB-to-serial converter, some wires, and some bravery to do this. I followed this easy to follow guide by Mark Watt, and won’t be writing down every step.
There are however two things I discovered, that might help people ending up here through Google:
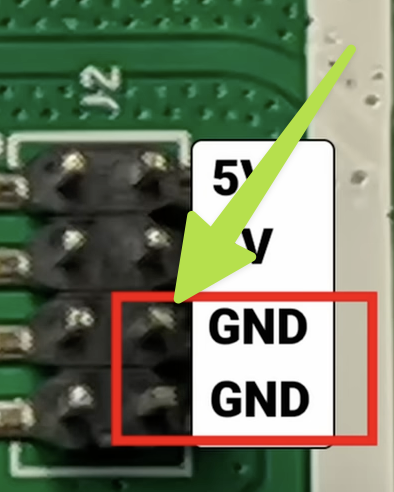
Getting the NSPanel into boot mode
I couldn’t get the ESP32 into boot mode by connecting the IO0 to the pin indicated in the video. It would somehow short and my USB-to-serial adapter would disappear from my device tree and get really hot, really fast ???? Connecting it to the other ground pin (the one above) worked fine, though.
Booting the NSPanel after flashing
After flashing, (and disconnecting the cable from IO0 to ground) the display didn’t turn on, and when inspecting the serial port in Arduino IDE I could see that it tried booting, but failed with messages such as rst:0x1 (POWERON_RESET),boot:0x13 (SPI_FAST_FLASH_BOOT). I really thought I fried the board while flashing.
Turns out, you can flash the NSPanel with 3.3V, but you cannot power it that way. I took a 220V power cable, connected it to live and neutral, put it in the wall, and boom … the device powered on.
Configuration & usage
After you’ve flashed the NSPanel, it will be discovered by Home Assistant as a ESPHome device. After this device is added, you’ll have to click a button to update the touch screen’s firmware. This part is a bit finicky and there is a whole Wiki page describing how to troubleshoot this. Hosting nspanel_eu.tft locally and trying a couple of times did the trick for me.
Configuration is done using a Blueprint, which is very convenient. It might not be the most user-friendly UI (it’s pages and pages of options), but it works.
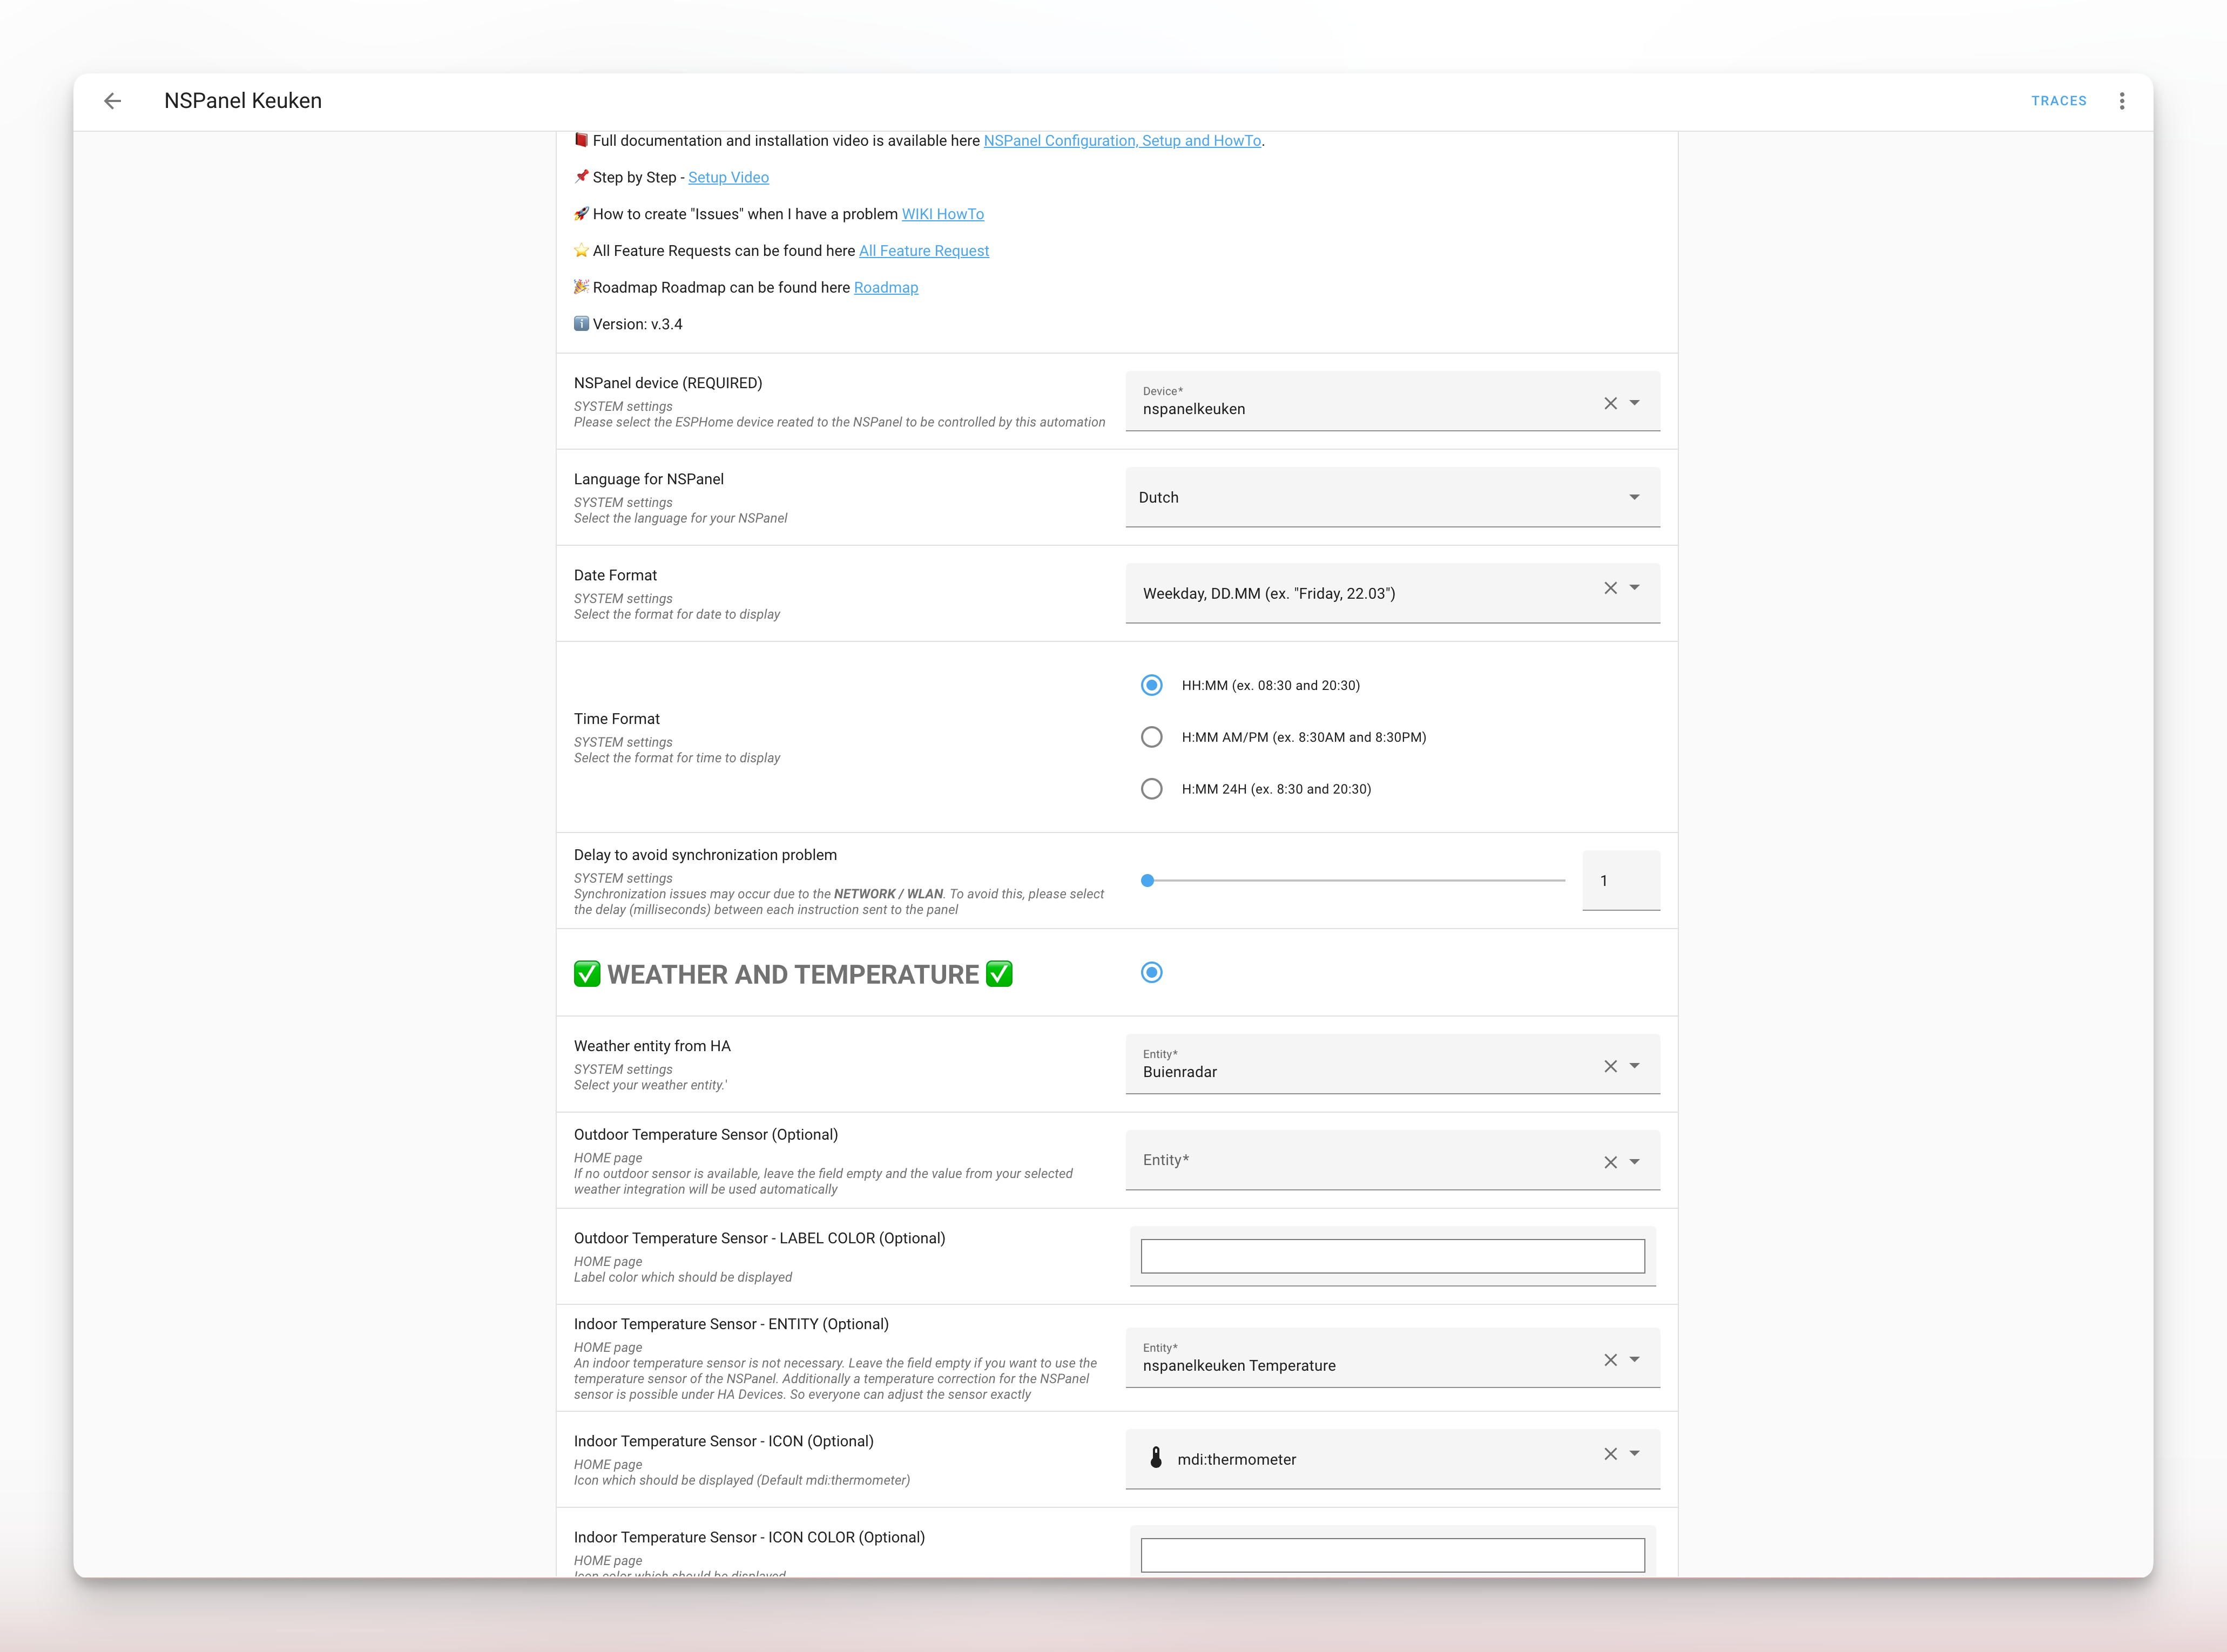
We’re living in a rental house while waiting for the renovations in our home to finish, so I don’t have many entities I can add to this config yet. But once we’re moved, I intend to use the panels to control our lights and shades.
---
SONOFF also has a “Pro” version of this panel, the NSPanel Pro. It doesn’t have an ESP32 inside, but instead runs Android on an ARM chip. It’s also hackable, and can display the HomeAssistant UI through a kiosk browser. The biggest downside is that it doesn’t have any physical buttons. I’m currently thinking about a place to integrate this into our home ????