Building a 3D printer: the Prusa i3 MK3S+

It’s been on my wishlist for a long time: a 3D printer. Every time I put an ugly microcontroller somewhere in the house, I thought, “How crazy would it be if I could print a nice enclosure right now?”.
After doing some spring cleaning, we suddenly had some extra space in our house. This space was big enough to put a table with a 3D printer. So, I started dreaming about having one. And once I’m dreaming about something, it’s too late.

Choosing a printer
The first choice to make if you want to buy a 3D printer is whether you wish to have one that applies layers of plastic on top of each other (FDM) or one where a chemical liquid is exposed with light, and thus a model is created (resin).
Because I don’t want to mess with chemical fluids, I made my choice quickly.
I then did my research, and it soon became apparent that there are roughly three price segments within the FDM printers:
- The ultracheap: for sometimes less than $100, you can buy a 3D printer on Aliexpress that is often quite solid. The most significant disadvantage is the bad support, and that to get the print quality good, you usually have to do numerous upgrades (which can make the final cost even more expensive)
- The average: decent printers that are all between 500 and 1000 euros in terms of price, and where you can count on quality and proper support.
- The very expensive: like the Ultimaker S3 for more than 3000 euros. These are pretty plug’n’play, but more for professionals.
I can handle quite a bit of tinkering, tweaking, and frustration, but in the end, I want something that keeps working once it works. And also, I want to get support in better English than on Aliexpress.
On All3DP, they publish a monthly Buyer’s Guide on 3D printers. For several months now, they recommend the Prusa i3 as the best buy. I looked around for alternatives, but I was sure that it would be a Prusa after watching the documentary below.
Prusa?
Prusa is a Czech company founded by Joseph Prusa, which designs and manufactures open-source printers. Joseph created the first design of Prusa in the context of RepRap, a project by Professor Adrien Bowyer that aims to build machines that can reproduce themselves. That project laid the base for the 3D printer revolution we’ve seen in the last ten years.
In their early days, Prusa made several printers a week with two employees. Today, they employ 600 employees and send over 2000 printers every week.
It is also lovely to see that they are using their success to support the (local) community. For example, Prusa runs a gigantic maker space on the ground floor of their 9-story factory. They manage to be more than just a printer maker. They are a love brand.
If you buy a Prusa, you have two options: a kit you have to build yourself or a ready-made one. I chose the kit. That’s almost 300 euros cheaper, and it was recommended to me everywhere. Building a Prusa is very fun, and you suddenly learn how your printer works on the inside.
One disadvantage to buying a Prusa: because they are so popular, the waiting time is weeks. When I ordered, the waiting period was four weeks, and that’s long.
Putting it together
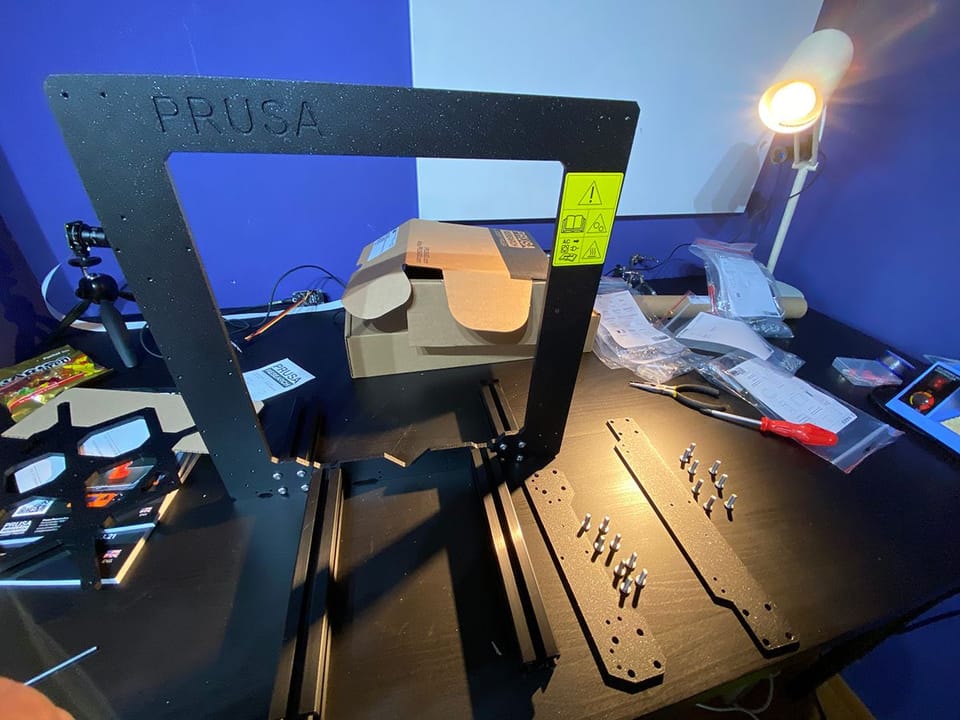
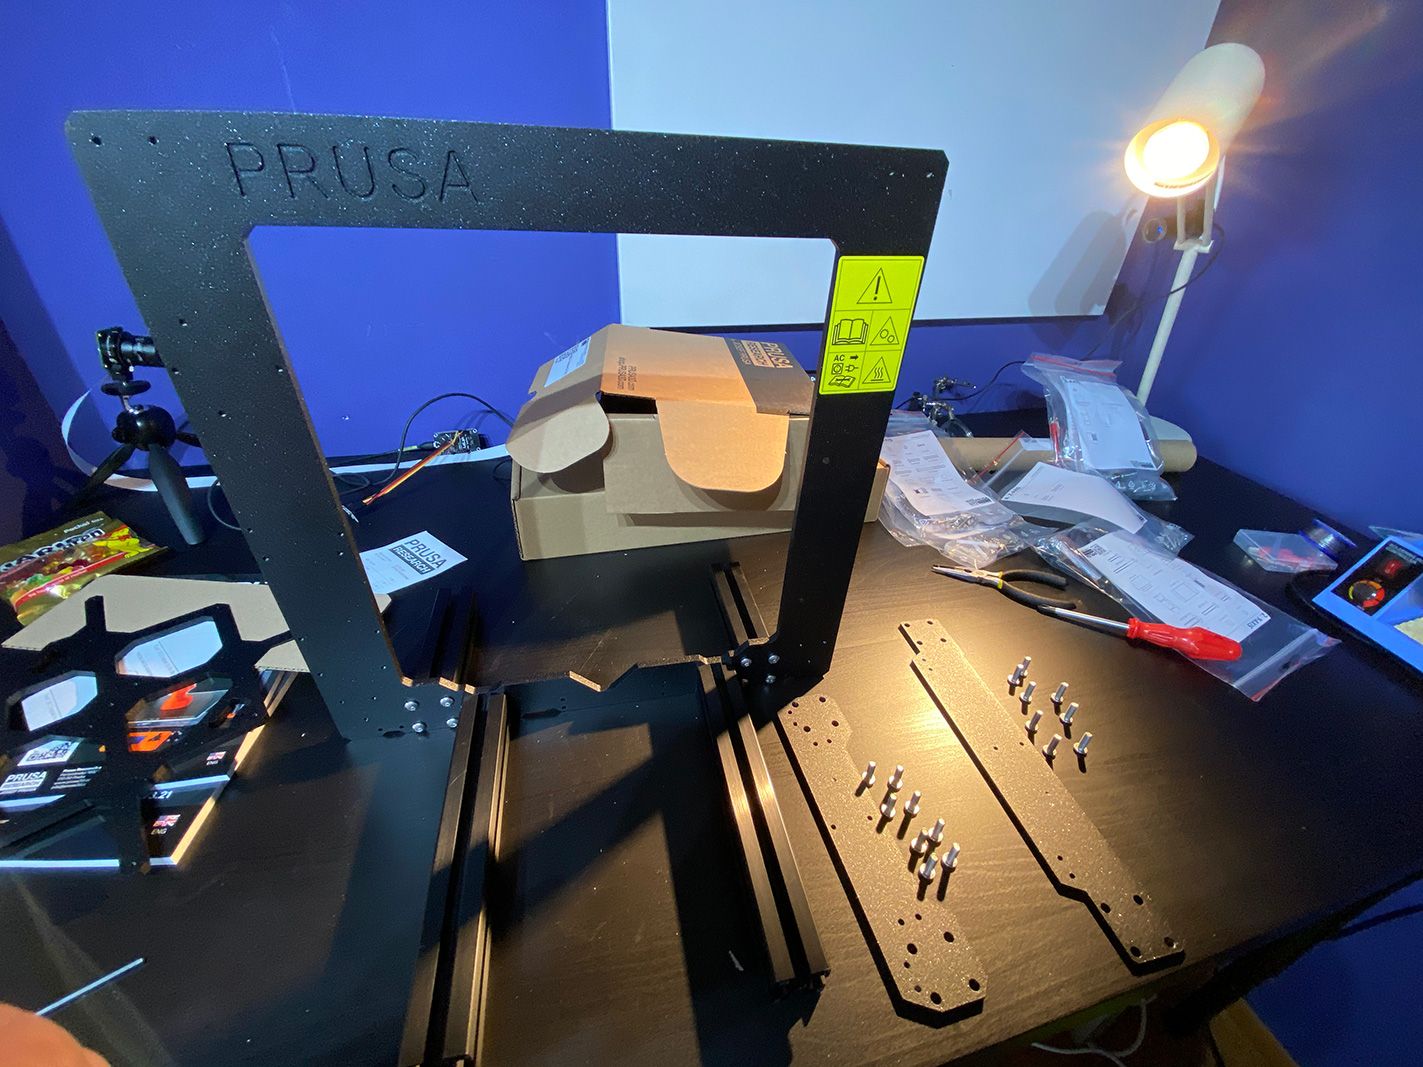
On a beautiful Monday, DPD finally rang the door with a large box containing the kit.

Looking around on the Internet, you’ll find a wide range of build times for the i3. Some manage to put it together in 4 hours, and others will spend 20 hours building it. Some people find it an absolute joy, and others find it rather frustrating. I did it myself in about 12 hours.
The complete building instructions are online, and customers can leave comments per step. Reading these comments before you start a step can save you an incredible amount of time. For example, I wasted half an hour by pushing two bearings against each other, which should have remained separate, which the comments clearly warned against doing.
The building itself is super fun. Anyone who likes to build LEGO or likes to put together IKEA cabinets will recognize the emotions you’ll be feeling. Sometimes you have no idea what you’re doing, or you can’t see screws anymore, but there is a certain satisfaction by the end of each chapter. And then you can also eat a few candy bears because Prusa puts a bag of Haribo inside each kit. Candy bears are tasty.

The two most difficult parts are assembling the printhead (the extruder) and the cabling and electronics. With those two steps, you really have to keep your head.
I was pretty surprised everything worked when I first powere
d on the Prusa for the very first time. It runs a self-check, and everything was connected correctly.
Calibration and Tuning
Putting the printer together is only the beginning.
Prusa printers have a lot of technology on board to make printing as simple as possible: they calibrate their axes themselves and correct for errors in the bed leveling. They can also detect crashes, and if the power goes out, they can continue printing without any problem.
But you will still have to do some things yourself: like calibrating the first layer. The printer does not know precisely how close its print opening (the nozzle) is to the print bed. So you have to set that right in steps of thousandths of a millimeter. This calibration is not complex, but you do have to put some time into it. You have to do it right. Otherwise, your print will come loose, and you’ll end up with a huge mess.
Also, you need to get your temperature settings right. Each material is different and requires different settings for both the material and the bed. PrusaSlicer, the program that converts 3D files into commands for the printer, already contains many manufacturers’ profiles. Still, here too, you’ll need to tune some settings occasionally or create a profile yourself.
I’m not saying 3D printing is challenging, but even with all the technological tools that a Prusa has on board, it is a continuous learning process. It’s certainly not an HP Deskjet that you plug into an outlet, and you don’t have to worry about it anymore.
Daily use
The Prusa is – once properly calibrated – a dream to work with. The printer has been running almost non-stop for a week, and I don’t really have to worry about it.
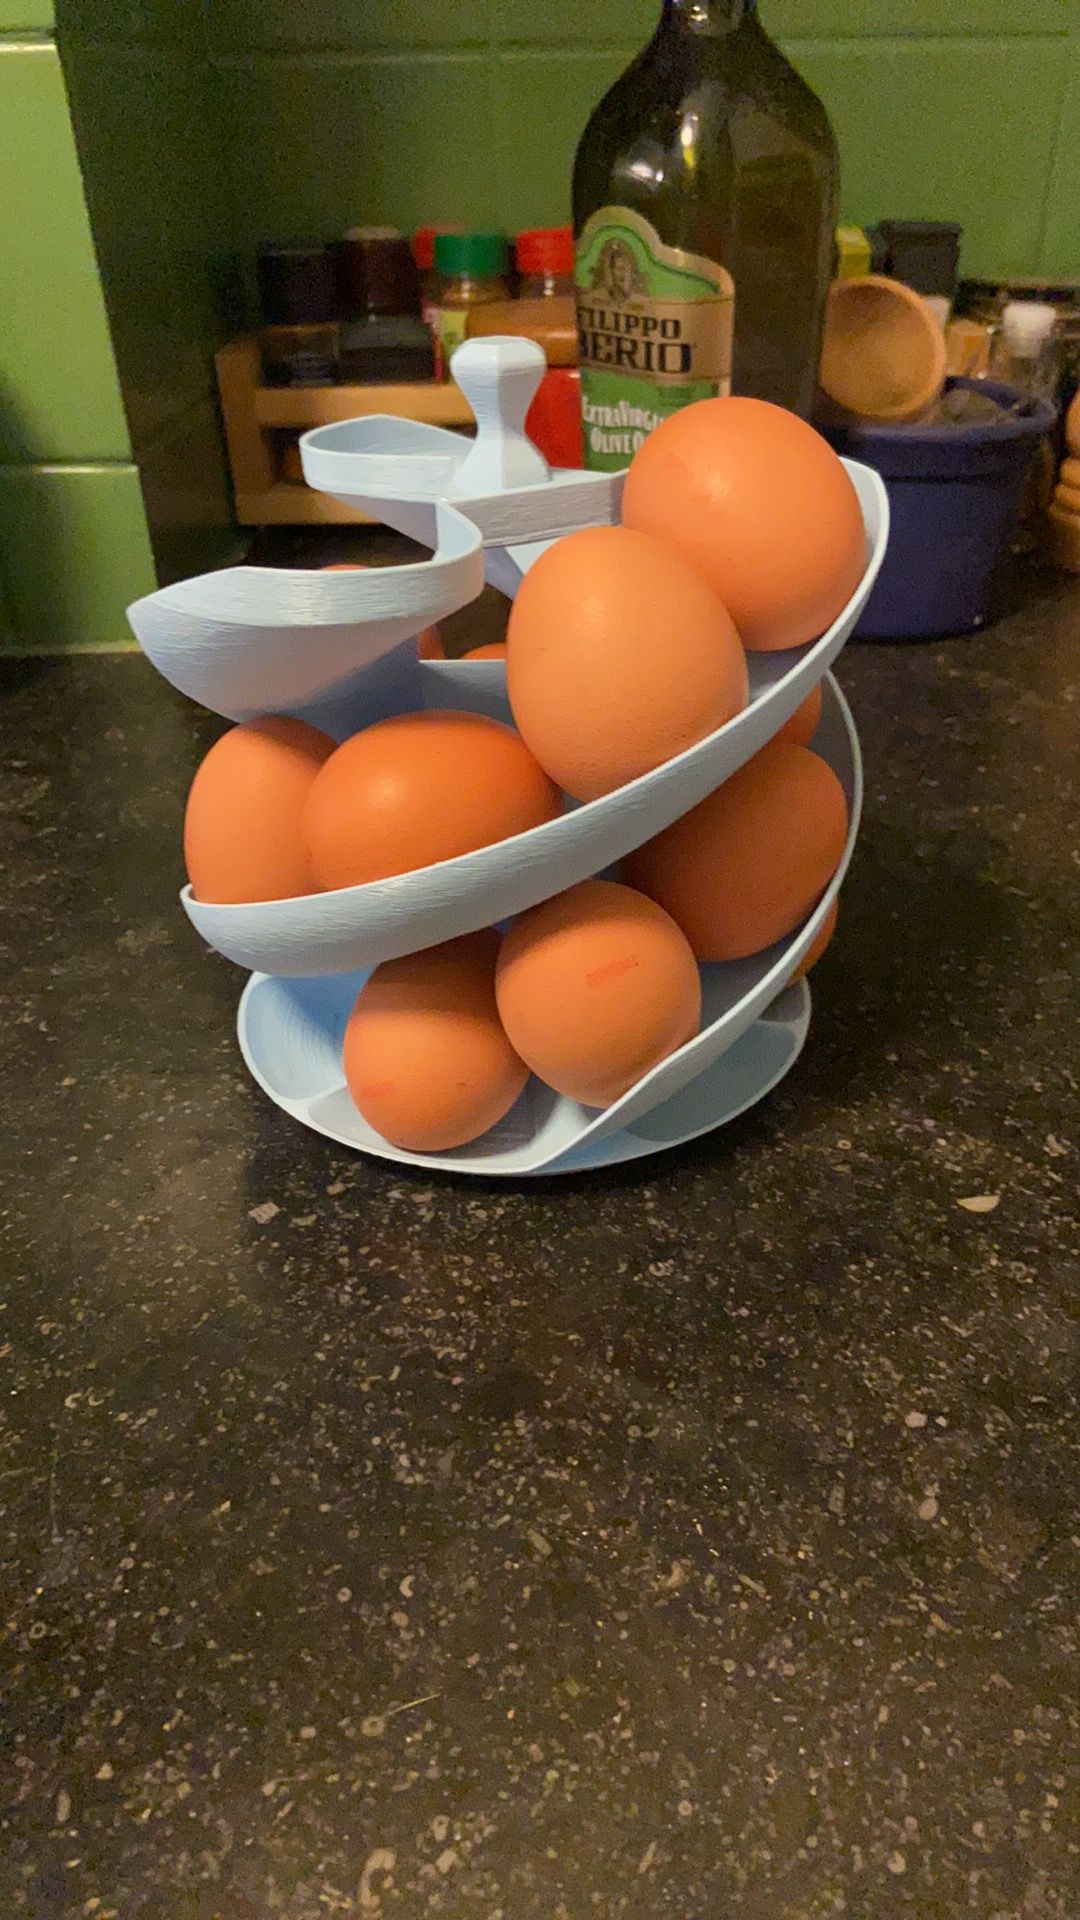
The quality of the prints is excellent, and it amazes who sees them. The time when a 3D print was a crappy object with clearly visible layers is clearly behind us.

In the meantime, I have bought a shitload of rolls of filament. Both the Prusament that is made by Prusa itself and which has rigorous quality requirements, as well as cheaper brands such as Real Filament and AmazonBasics and print perfectly.
A few questions
How big can a Prusa i3 print?
This question gets asked by everyone. The answer is 25x21x21 cm (width*length*height). That’s not super big, but if you want to fill that up, you’re printing for 48 hours or more.
Does 3D printing cost a lot?
Besides the cost of the printer: no. A roll of filament (the plastic you print with) costs somewhere between 20 and 30 euros for a kilo. Unique finished such as wood and satin also cost this much, but per 500 grams.
All that plastic can’t be good for the environment, can it?
PLA, the most commonly used material for filament, is made from corn. In terms of production, that is good. Because of the low melting temperature, we can’t recycle it together with other plastics. So there is still work to be done on recyclability.
But by making your own everyday objects, you save a lot of packaging materials and single-use plastics, which in turn benefits the environment.
A few learnings
- Order a bottle of 95% cleaning alcohol (IPA). Finger marks on the circuit board release a print very quickly. I re-calibrated mine twice because I thought my first layer started too high.
- Also, order a torque wrench and Allen bits. Having one is so much more convenient than those mini Allen keys you get.
- Use the 7×7 bedlevelling. This setting adds at most 1 minute to your prints but makes for a much better first layer.
- The belt of my Y-axis was initially much too loose. Print the Belt Tension Tester to set the perfect tension.
- Order a roll of Prusament PETG with your printer because you need it for the Belt Tension Tester. And add the Textured Plate because PETG can stick very severely to the supplied Smooth Plate.
- Take the time to learn about 3D printing in advance. The series “3D Printing Basics” by Thomas Sanladerer is highly recommended.
- If you want to learn how to model in a CAD environment, the Fusion 360 tutorials from Product Design Online are excellent.
- Be patient in building and first steps. Everything will be fine anyway, and there’s very little you can do wrong. It won’t be 100% perfect from the first time, but you can tweak everything afterward.
- Buy a Raspberry Pi and put OctoPrint on it. This way, you can keep an eye on your printer over your network. Soon I’ll write something about all the crazy things you can do with OctoPrint.
So, these are my experiences about putting together a Prusa i3 MK3S+. Questions or remarks? Please leave them below!
Member discussion