A house full of sensors with ESPHome
These days you can waste a lot of money on smart appliances. Or make such smart devices yourself.
ESP
As I said in my previous article about our staircase with 600 LEDs, Espressif ESP boards are ideal for when you want to make things that connect to the Internet:
Luckily other development boards are very good at that. Those boards contain the ESP8266 microchip. That chip can be programmed in the same way as an Arduino but has built-in WiFi and the necessary libraries to enable IoT applications. His big brother, the ESP32, is also equipped with Bluetooth (and is twice as fast).
Go big or go home
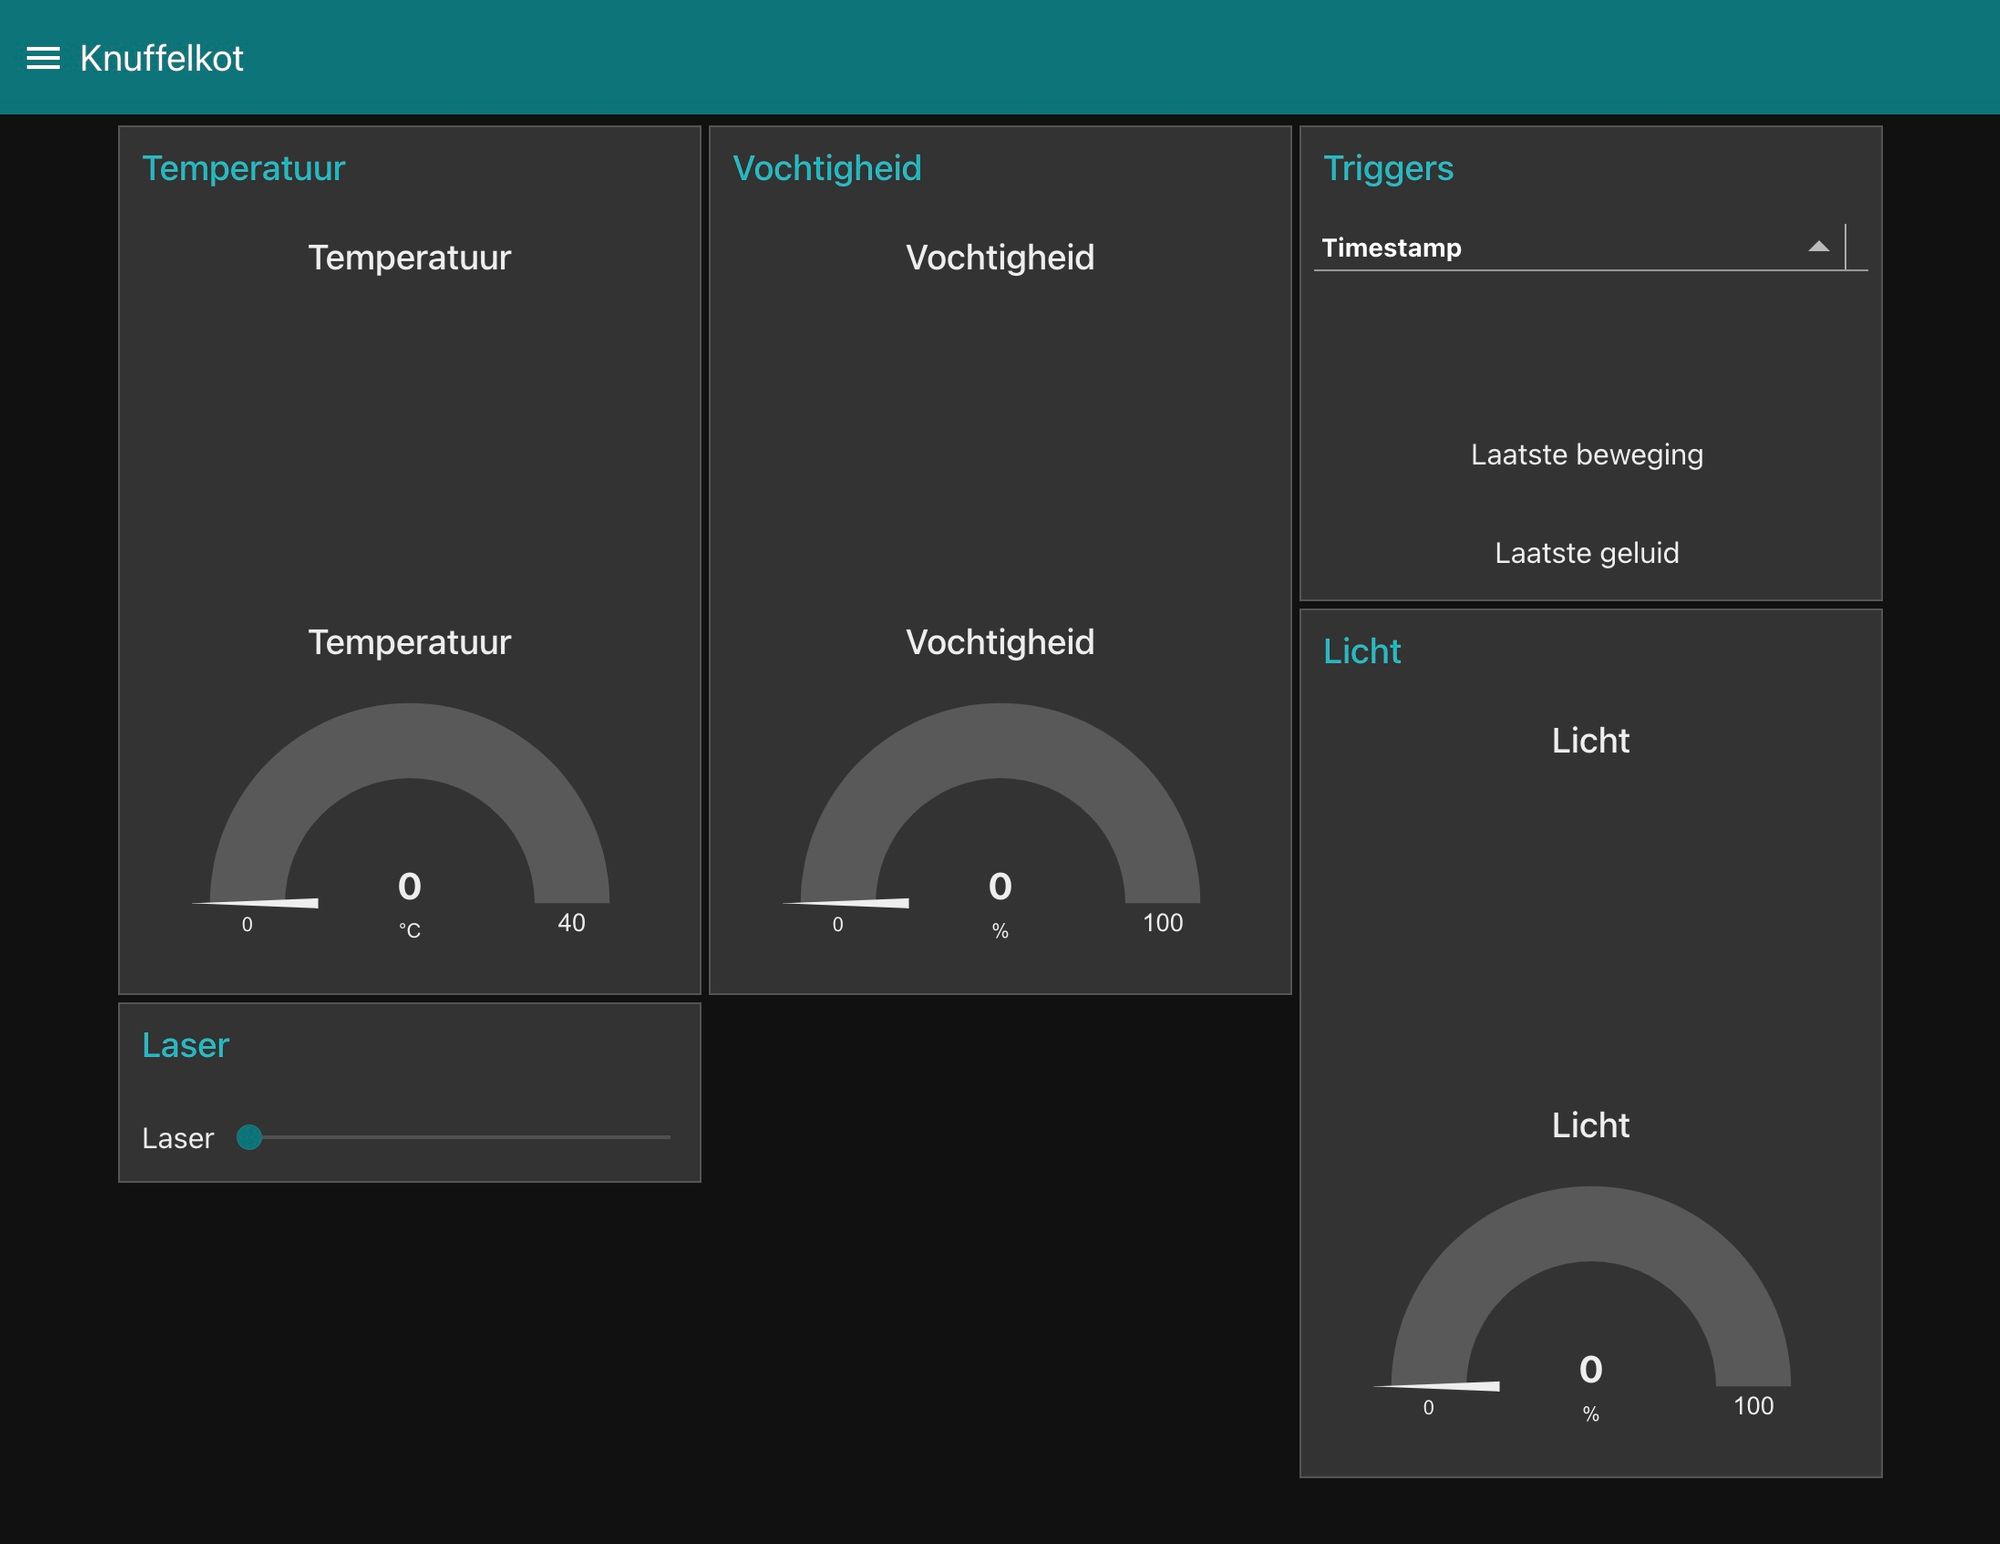
This is what I made with my very first ESP8266 board:

Many wires, a motion sensor, a light sensor, a microphone, a temperature and humidity sensor, a screen, and a laser beam. This thing is still hanging up in our meeting room at VRT and, of course, is total overkill to see whether the lights are on.
I put way too much time into it at the time, but it taught me how to connect an ESP to the network and also the principles of MQTT and node-red.
Everything these sensors capture is forwarded every 10 seconds to an MQTT server (a kind of telephone exchange for IoT applications), which communicates it to a small application that I wrote in node-red.
Little did I know there’s already a project that does everything I did and more: ESPHome.
ESPHome
ESPHome is a system to control your ESP8266/ESP32 by simple yet powerful configuration files and control them remotely through Home Automation systems.
In short, ESPHome is a firmware for ESP that allows you to create things like the above without writing any code and integrates with Home Assistant and others.
After installation (pip3 install esphome), you can quickly start a new project via the wizard (esphome serverkast.yaml wizard), and after answering some questions, the wizard writes out a YAML file containing the minimum configuration:
esphome:
  name: serverkast
  platform: ESP8266
  board: nodemcuv2

wifi:
  ssid: ""
  password: ""

  # Enable fallback hotspot (captive portal) in case wifi connection fails
  ap:
    ssid: "Sample Fallback Hotspot"
    password: ""

captive_portal:

# Enable logging
logger:

# Enable Home Assistant API
api:

ota:
When you flash this on your ESP (esphome run serverkast.yaml), your ESP will reboot, connect to your WiFi network and appear in Home Assistant.
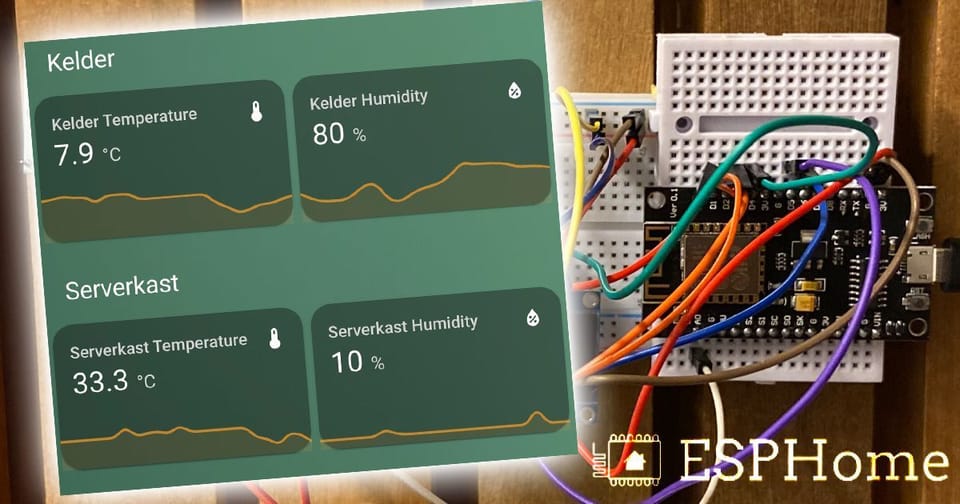
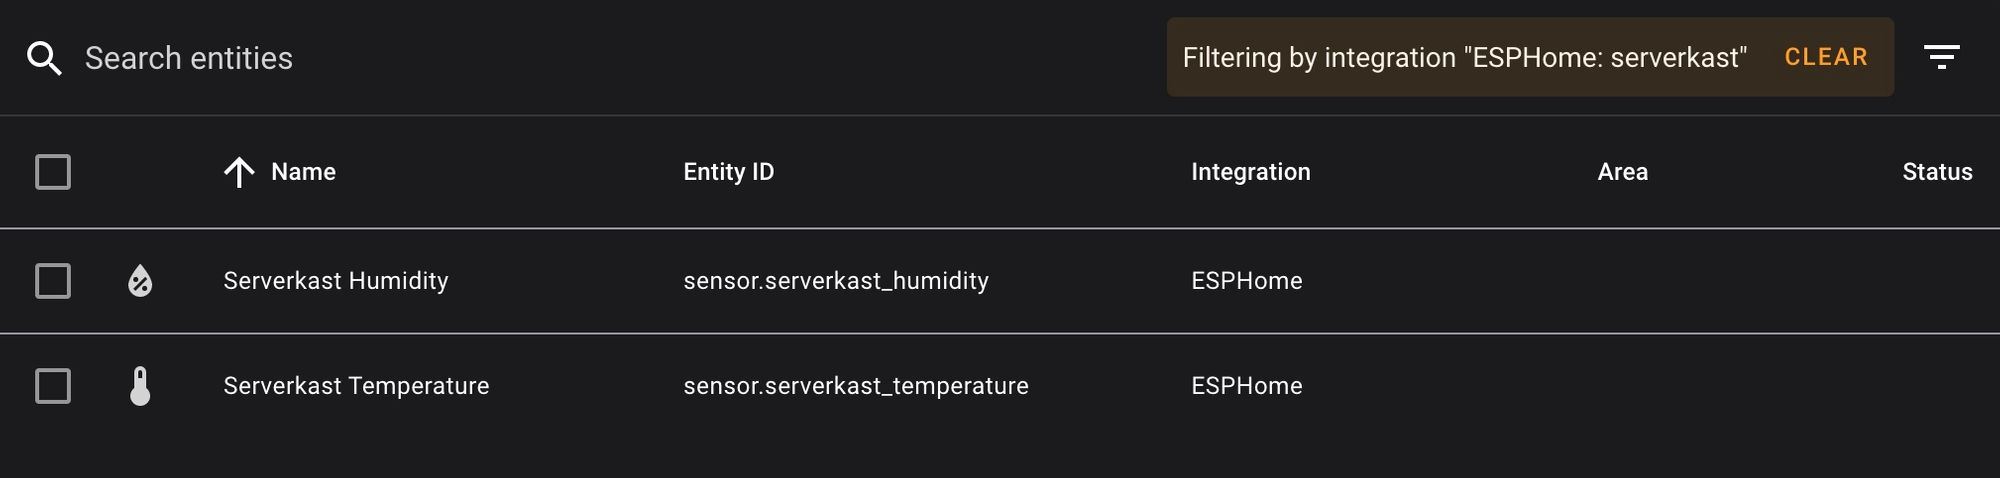
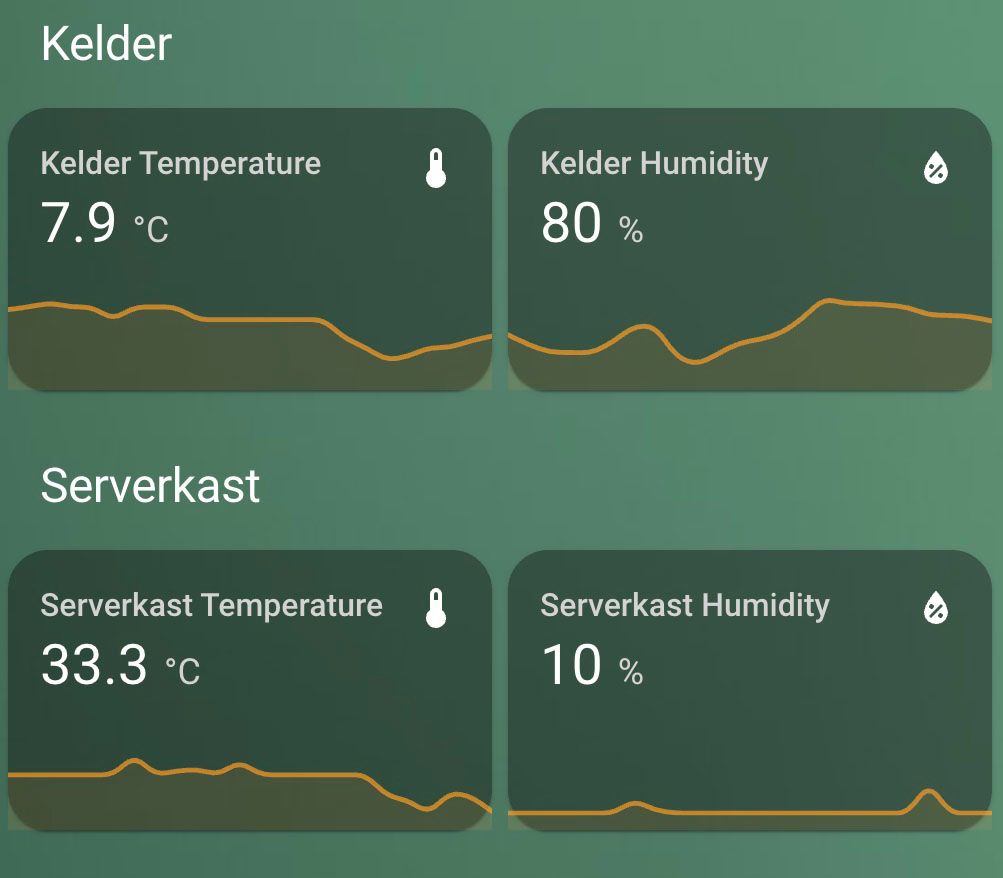
Of course, this does absolutely nothing. So it’s time to connect some sensors. Inside my server cabinet, there is an ESP8266 with a DHT11 temperature and humidity sensor connected to PIN D2. In the configuration file, this becomes (beneath ota:):
sensor:
  - platform: dht
    pin: D2
    model: DHT11
    temperature:
      name: "Serverkast Temperature"
      filters:
        - calibrate_linear:
            - 0.0 -> 0.0
            - 24.0 -> 23.5
    humidity:
      name: "Serverkast Humidity"
    update_interval: 60s
(Because DHT11 temperature sensors are cheap but not precisely accurate, a small calibration occurs: 24 degrees is adjusted to 23.5.)
After reflashing (via USB or over WiFi), these sensors appear in Home Assistant:
In Home Assistant, the data from these sensors can now be used to perform automations or to create beautiful graphs using, for example, InfluxDB:

Sensors, buttons & screens
The great thing about ESPHome is that everything you can think of works out of the box. Hang an e-paper display on it? A camera? Or create your own IR remote control? It’s all possible, and it all works through the same configuration file. You can find an overview of all supported components here.
Automations in ESPHome
An automation I have planned for the ESP8266 in my server cabinet is to automatically start a fan when the temperature is higher than 30°. You can do this in the Home Assistant interface but also in the configuration file itself:
 sensor:
  - platform: dht
    pin: D2
    model: DHT11
    temperature:
      name: "Serverkast Temperature"
      filters:
        - calibrate_linear:
            - 0.0 -> 0.0
            - 24.0 -> 23.5
      on_value_range:
        - above: 30.0
          then:
            - fan.turn_on: fan
        - below: 30.0
          then:
            - fan.turn_off: fan
The latter has the advantage that your automation works even when Home Assistant is not accessible and is especially recommended for simple automation that does not require other devices in your network.
Automations in Home Assistant
During the Christmas period, I connected an ESP with some LEDs (I didn’t know WLED at that time) and a button. When you hit that button, our Google Nest Hub started playing Christmas music, and the lights turned on.
To do this, the ESPHome sends an event to Home Assistant:
binary_sensor:
  - platform: gpio
    pin:
      number: D0
      mode: INPUT_PULLDOWN_16
    name: "Button"
    on_press:
      then:
        - homeassistant.event:
            event: esphome.button_pressed
            data:
              title: Button was pressed
Home Assistant sets the Nest’s volume to 75%, selects a random Christmas song, lights on, and turns on the Philips Hue’s Cozy scene.
- id: '1608044655971'
  alias: Play xmas
  description: ''
  trigger:
  - platform: event
    event_type: esphome.button_pressed
  condition:
  - condition: device
    type: is_off
    device_id: 3a18233816ee484b9780e3448c416fec
    entity_id: light.xmas_leds
    domain: light
  action:
  - service: media_player.volume_set
    entity_id: media_player.woonkamer
    data:
      volume_level: '0.75'
  - service: media_player.play_media
    data:
      media_content_type: music
    entity_id: media_player.woonkamer
    data_template:
      media_content_id: '{{  [
"http://www.edsstuff.org/Music/Christmas/Disney/Disc%20A/14-White%20Christmas.mp3",
"http://news.bpmsupreme.com/wp-content/uploads/2015/12/Mariah-Carey-All-I-Want-For-Christmas-Is-You-Clean.mp3",
] | random }}'
  - type: turn_on
    device_id: 3a18233816ee484b9780e3448c416fec
    entity_id: light.xmas_leds
    domain: light
    brightness_pct: 50
  - service: hue.hue_activate_scene
    data:
      group_name: Living
      scene_name: Gezellig
Be careful if you make something like this, and you have kids. You’ll get tired of this very quickly.
Update ESPHome in Home Assistant
After the first flash via USB, your ESPHome can update OTA (over-the-air – over WiFi). This is useful because it allows you to keep your sensors where they are and still make configuration changes.
In Home Assistant, you also have an ESPHome community add-on. It contains the latest version of ESPHome and allows you to perform updates from the Home Assistant interface.
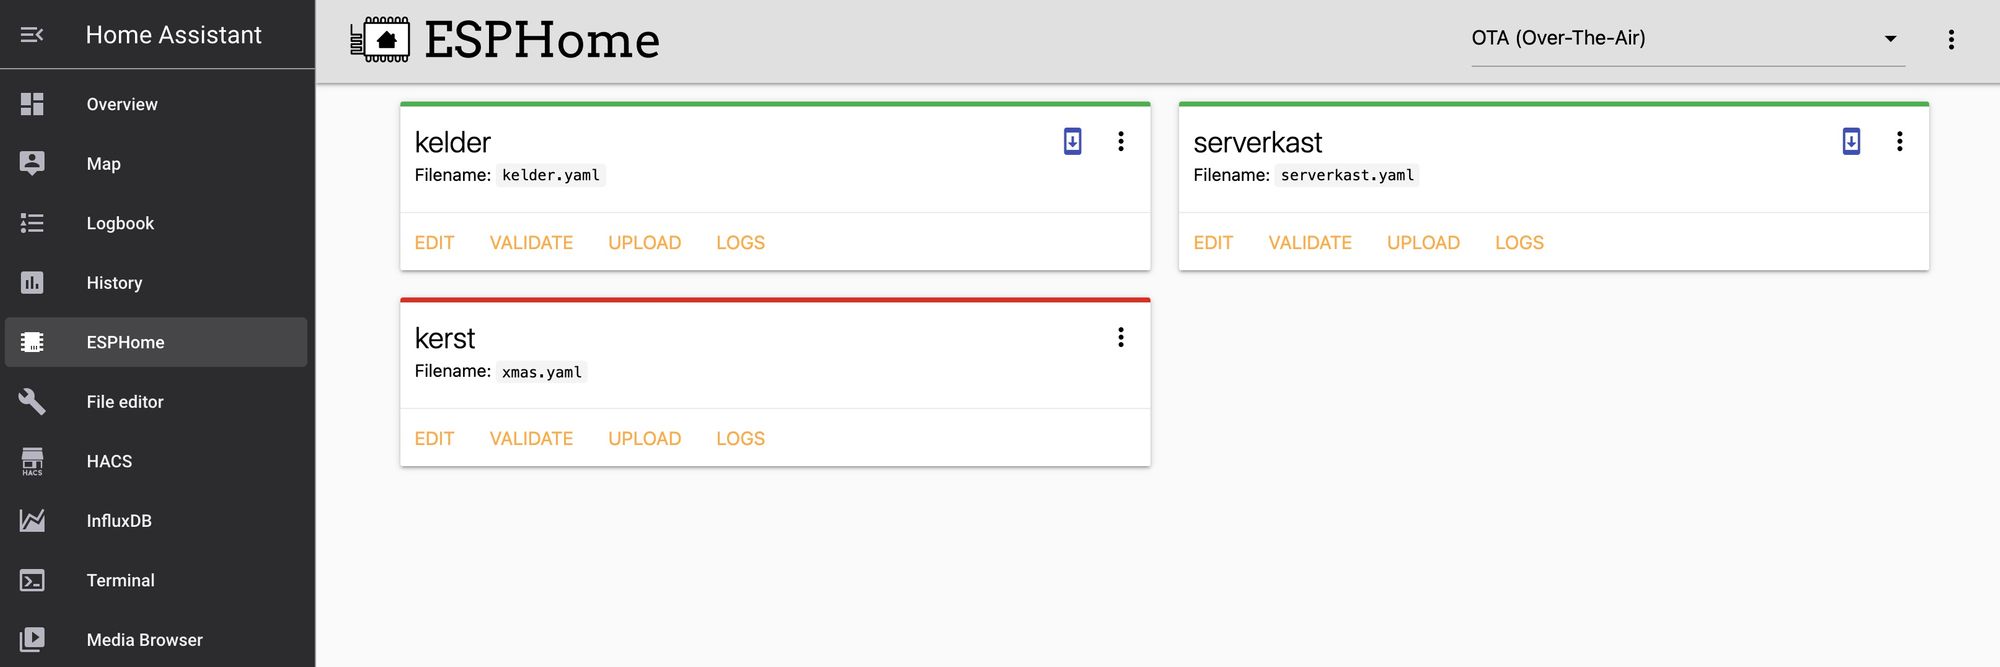
I always copy my configuration files here after flashing via USB. This allows updating wherever possible and gives easy access to my various devices’ logs and status.
The result
I want to do some crazier things with ESPHome in the future, but I keep the temperature and humidity for now.
Member discussion